5. Groups
The Groups feature allows you to organize users into groups for efficient management. By sharing books at the group level, you can automatically handle user additions and removals.
Note: The Add button visibility depends on your environment: - Cloud Service: Displayed if you have joined a workgroup - Dedicated Server (On-premises): Displayed only for users with workgroup administrator privileges (Owner/Admin)
5.1 Group List
Opening the Groups tab displays a list of groups.
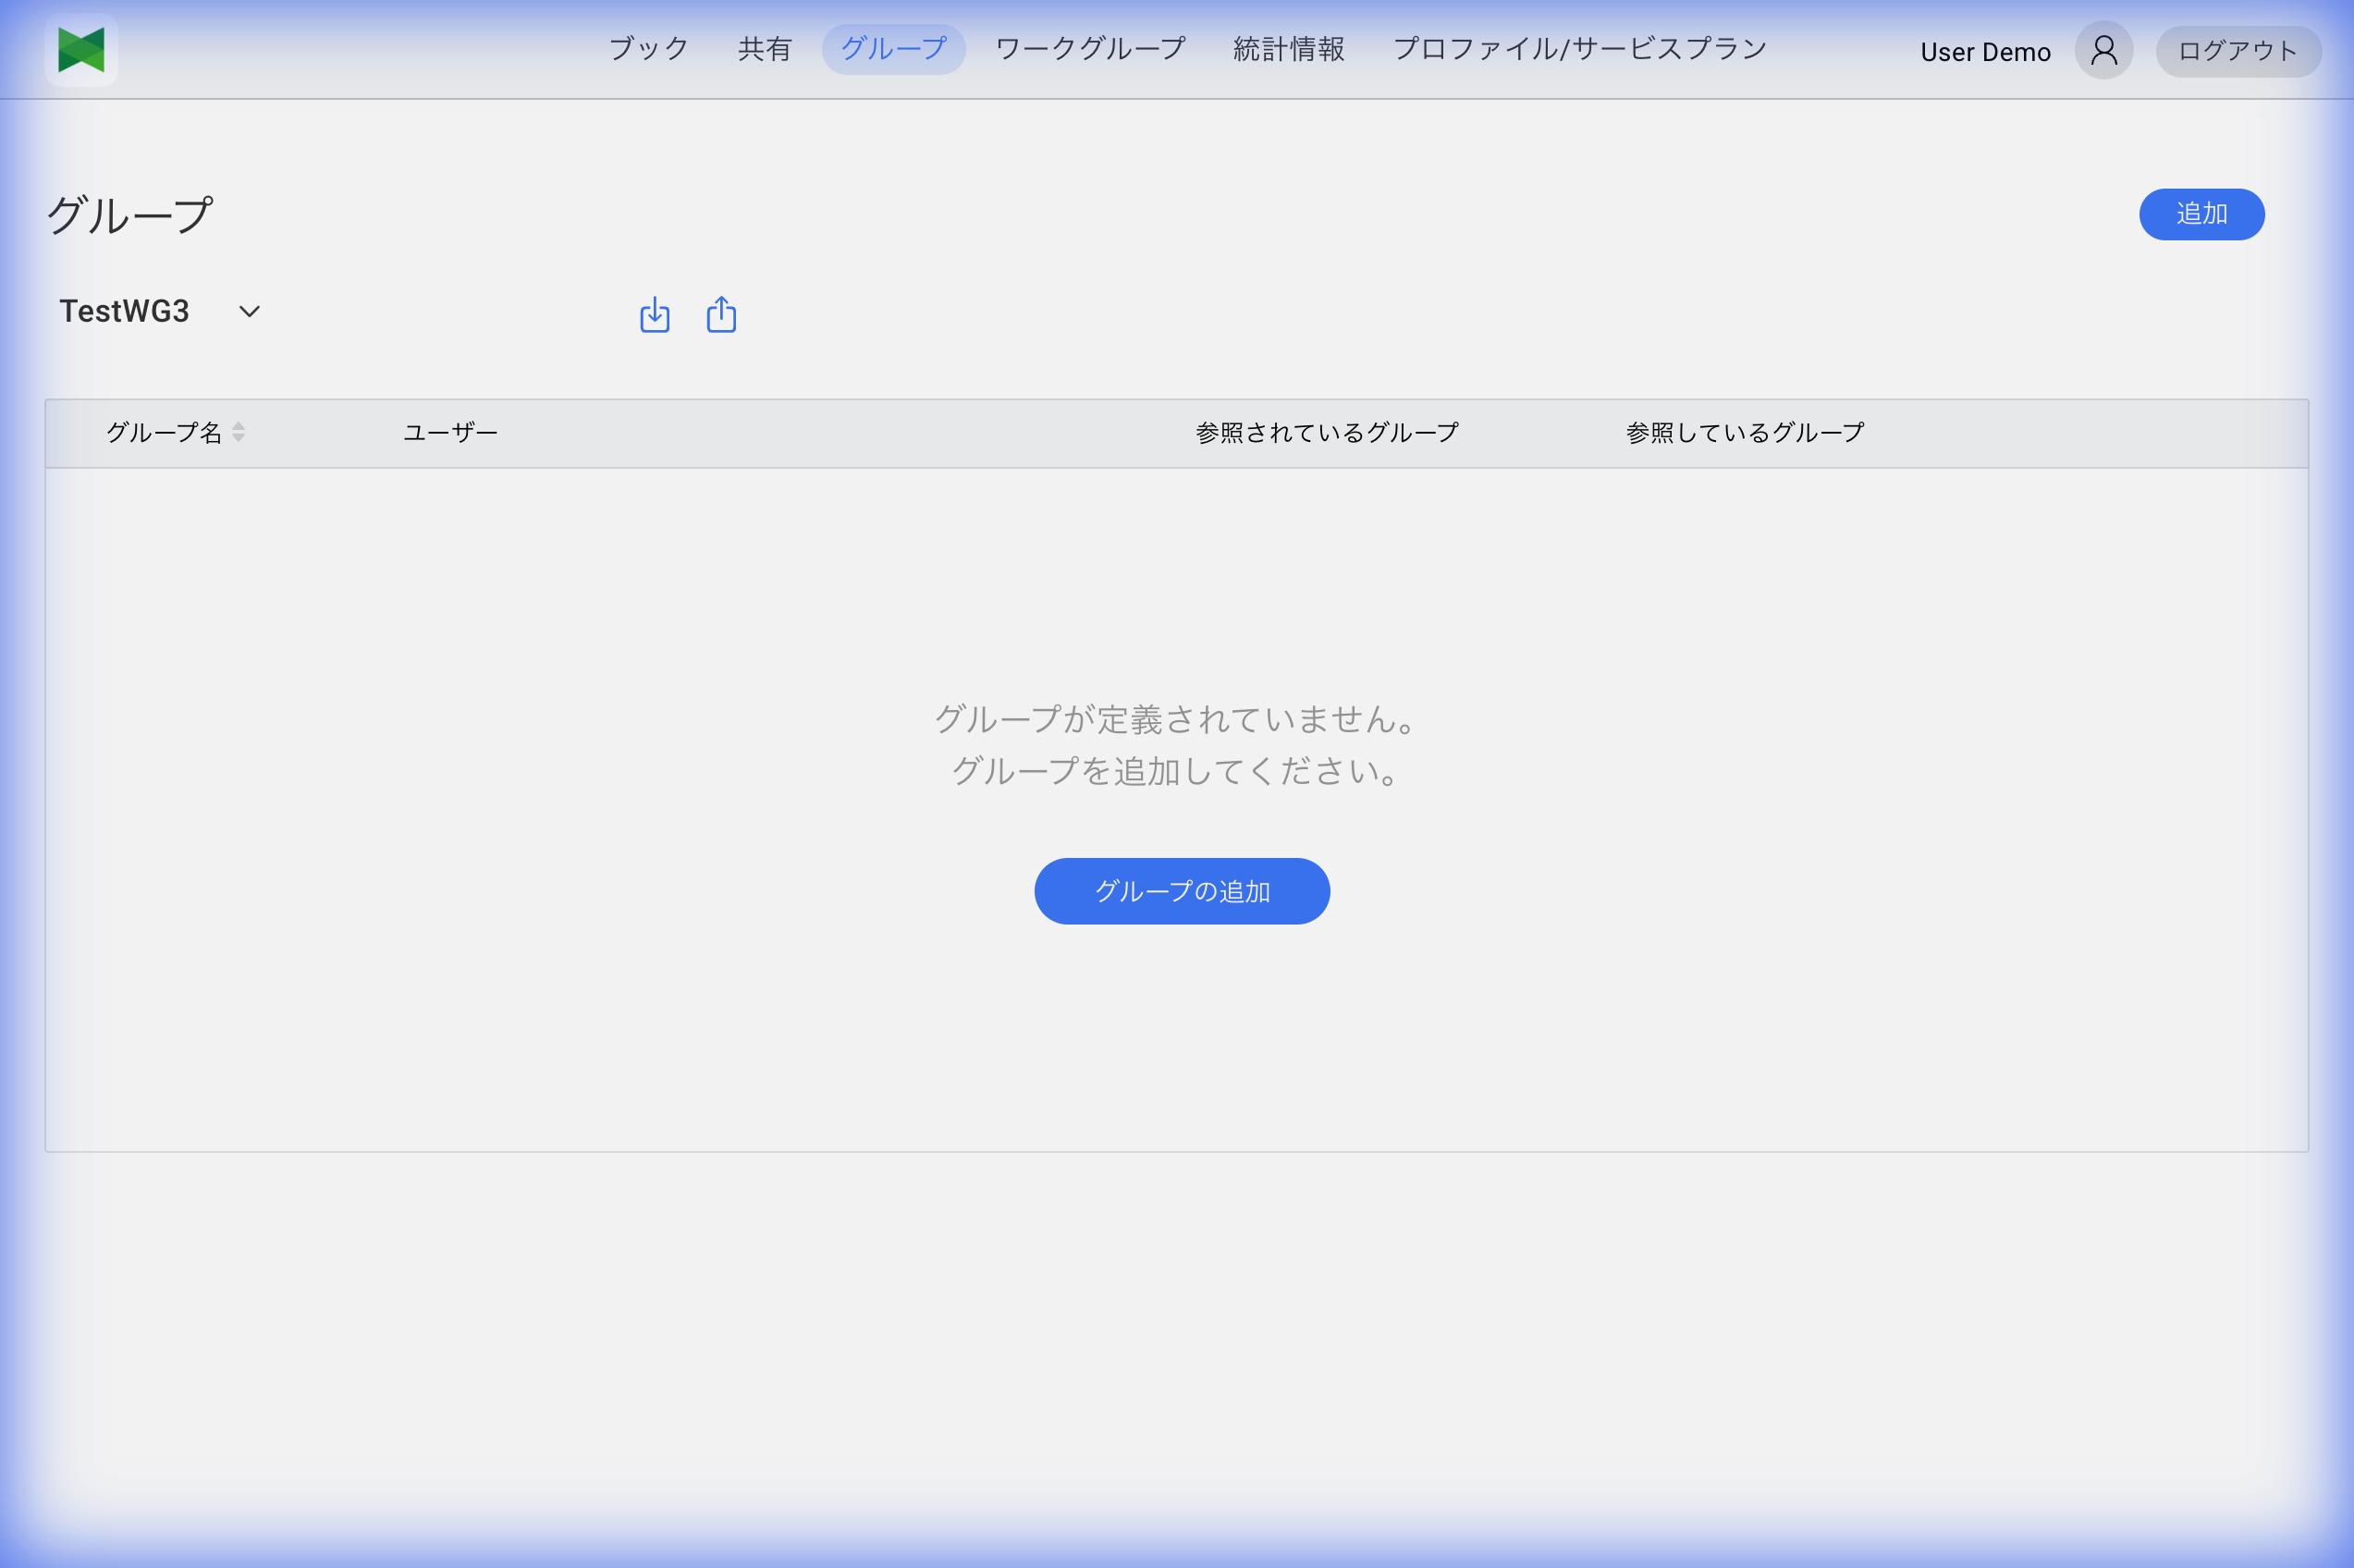
Display Items
| Item | Description |
|---|---|
| Group Name | Name of the group |
| Users | Users belonging to the group |
| Referenced groups | Parent groups that reference this group |
| Reference Group | Child groups that this group references |
Viewing Group Users
The Users column displays icons and names of belonging users. If there are many users, click the "..." icon to view all users.
5.2 Selecting a Workgroup
You can switch the displayed workgroup from the dropdown at the top of the group list.
- Click on the Workgroup name
- A dropdown menu appears
- Select the workgroup you want to display
Note: Groups are managed per workgroup. Switching workgroups displays the groups of that workgroup.
5.3 Creating a Group
To create a new group:
- Click the Add button
- The "Add Group" dialog appears
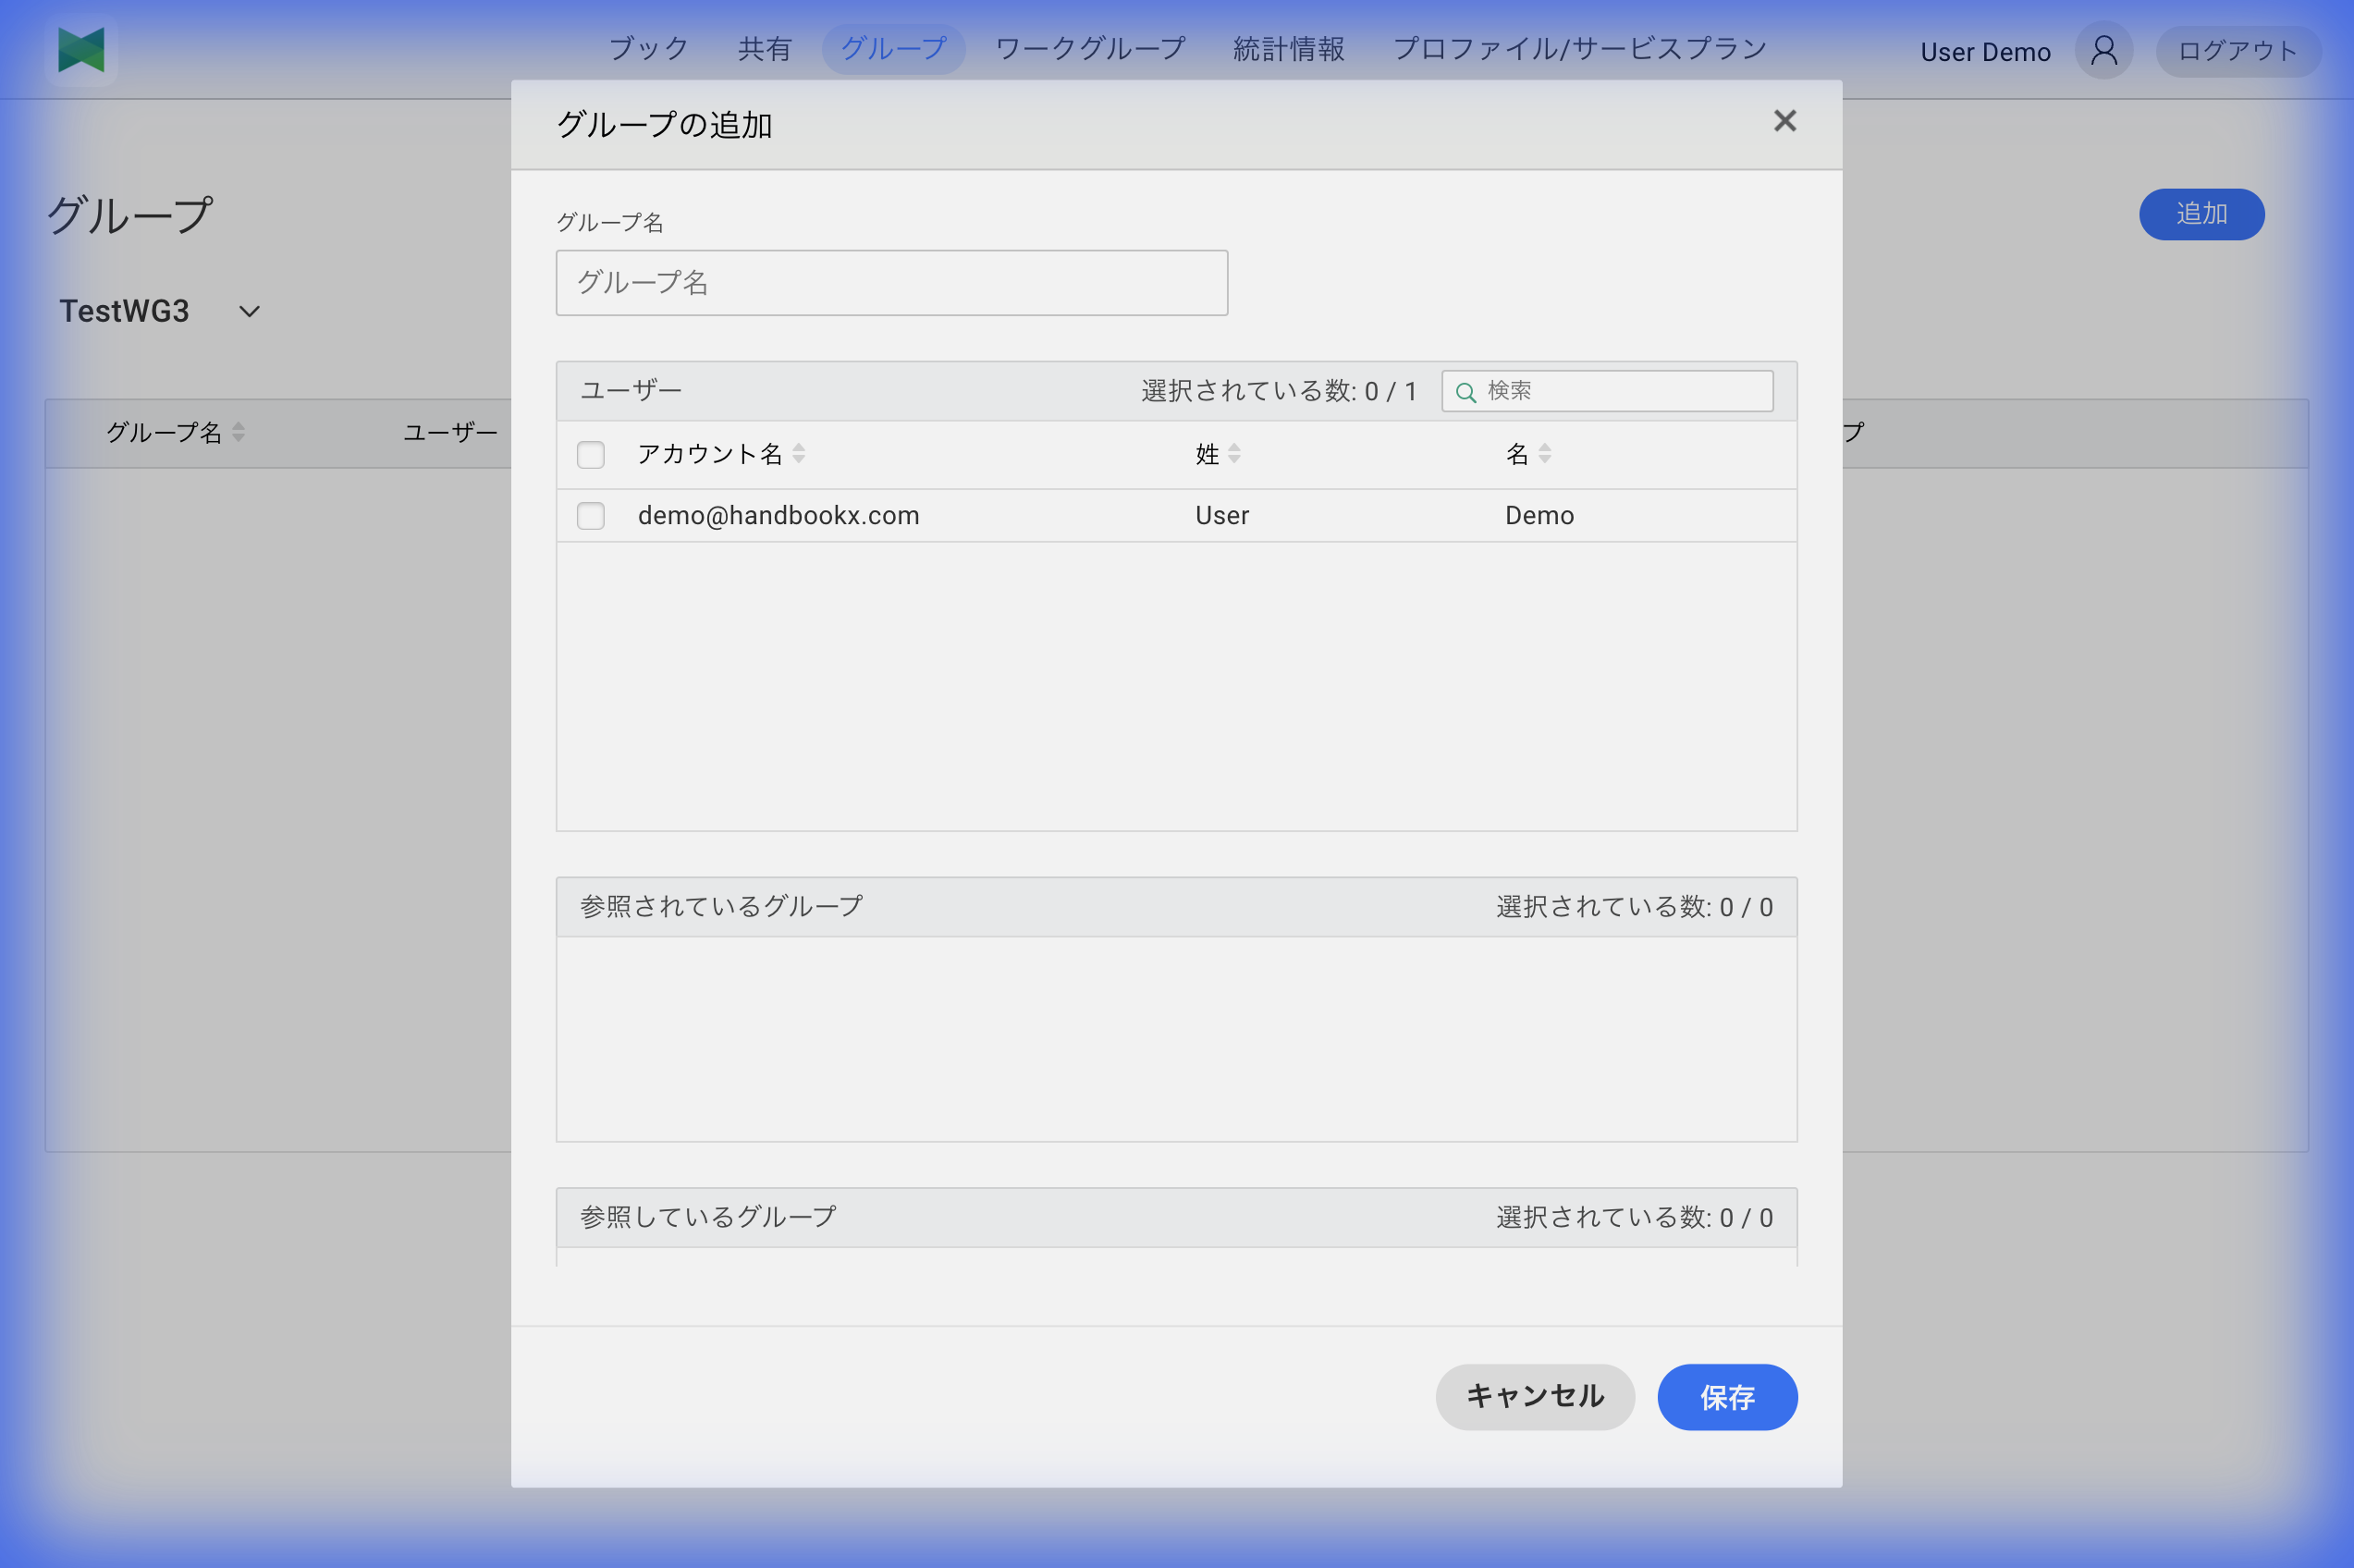
- Enter the following information:
| Item | Required | Description |
|---|---|---|
| Group Name | ○ | Name of the group (max 100 characters) |
| Users | - | Users to add to the group |
| Referenced groups | - | Set parent groups that reference this group |
| Reference Group | - | Set child groups that this group references |
- Click the Save button
Selecting Users
- Select users' checkboxes in the Users section
- The user list shows the following columns:
- Account Name: User's email address or account name
- Department: The department the user set on their profile
- Last Name / First Name: User's name
- The "Selected" count shows the number of selected users
- You can search for users using the search box (partial match against Account Name, Last Name, or First Name)
5.4 Editing a Group
To edit an existing group:
- Click the Edit button (
 ) of the group you want to edit in the group list
 - The "Edit Group" dialog appears
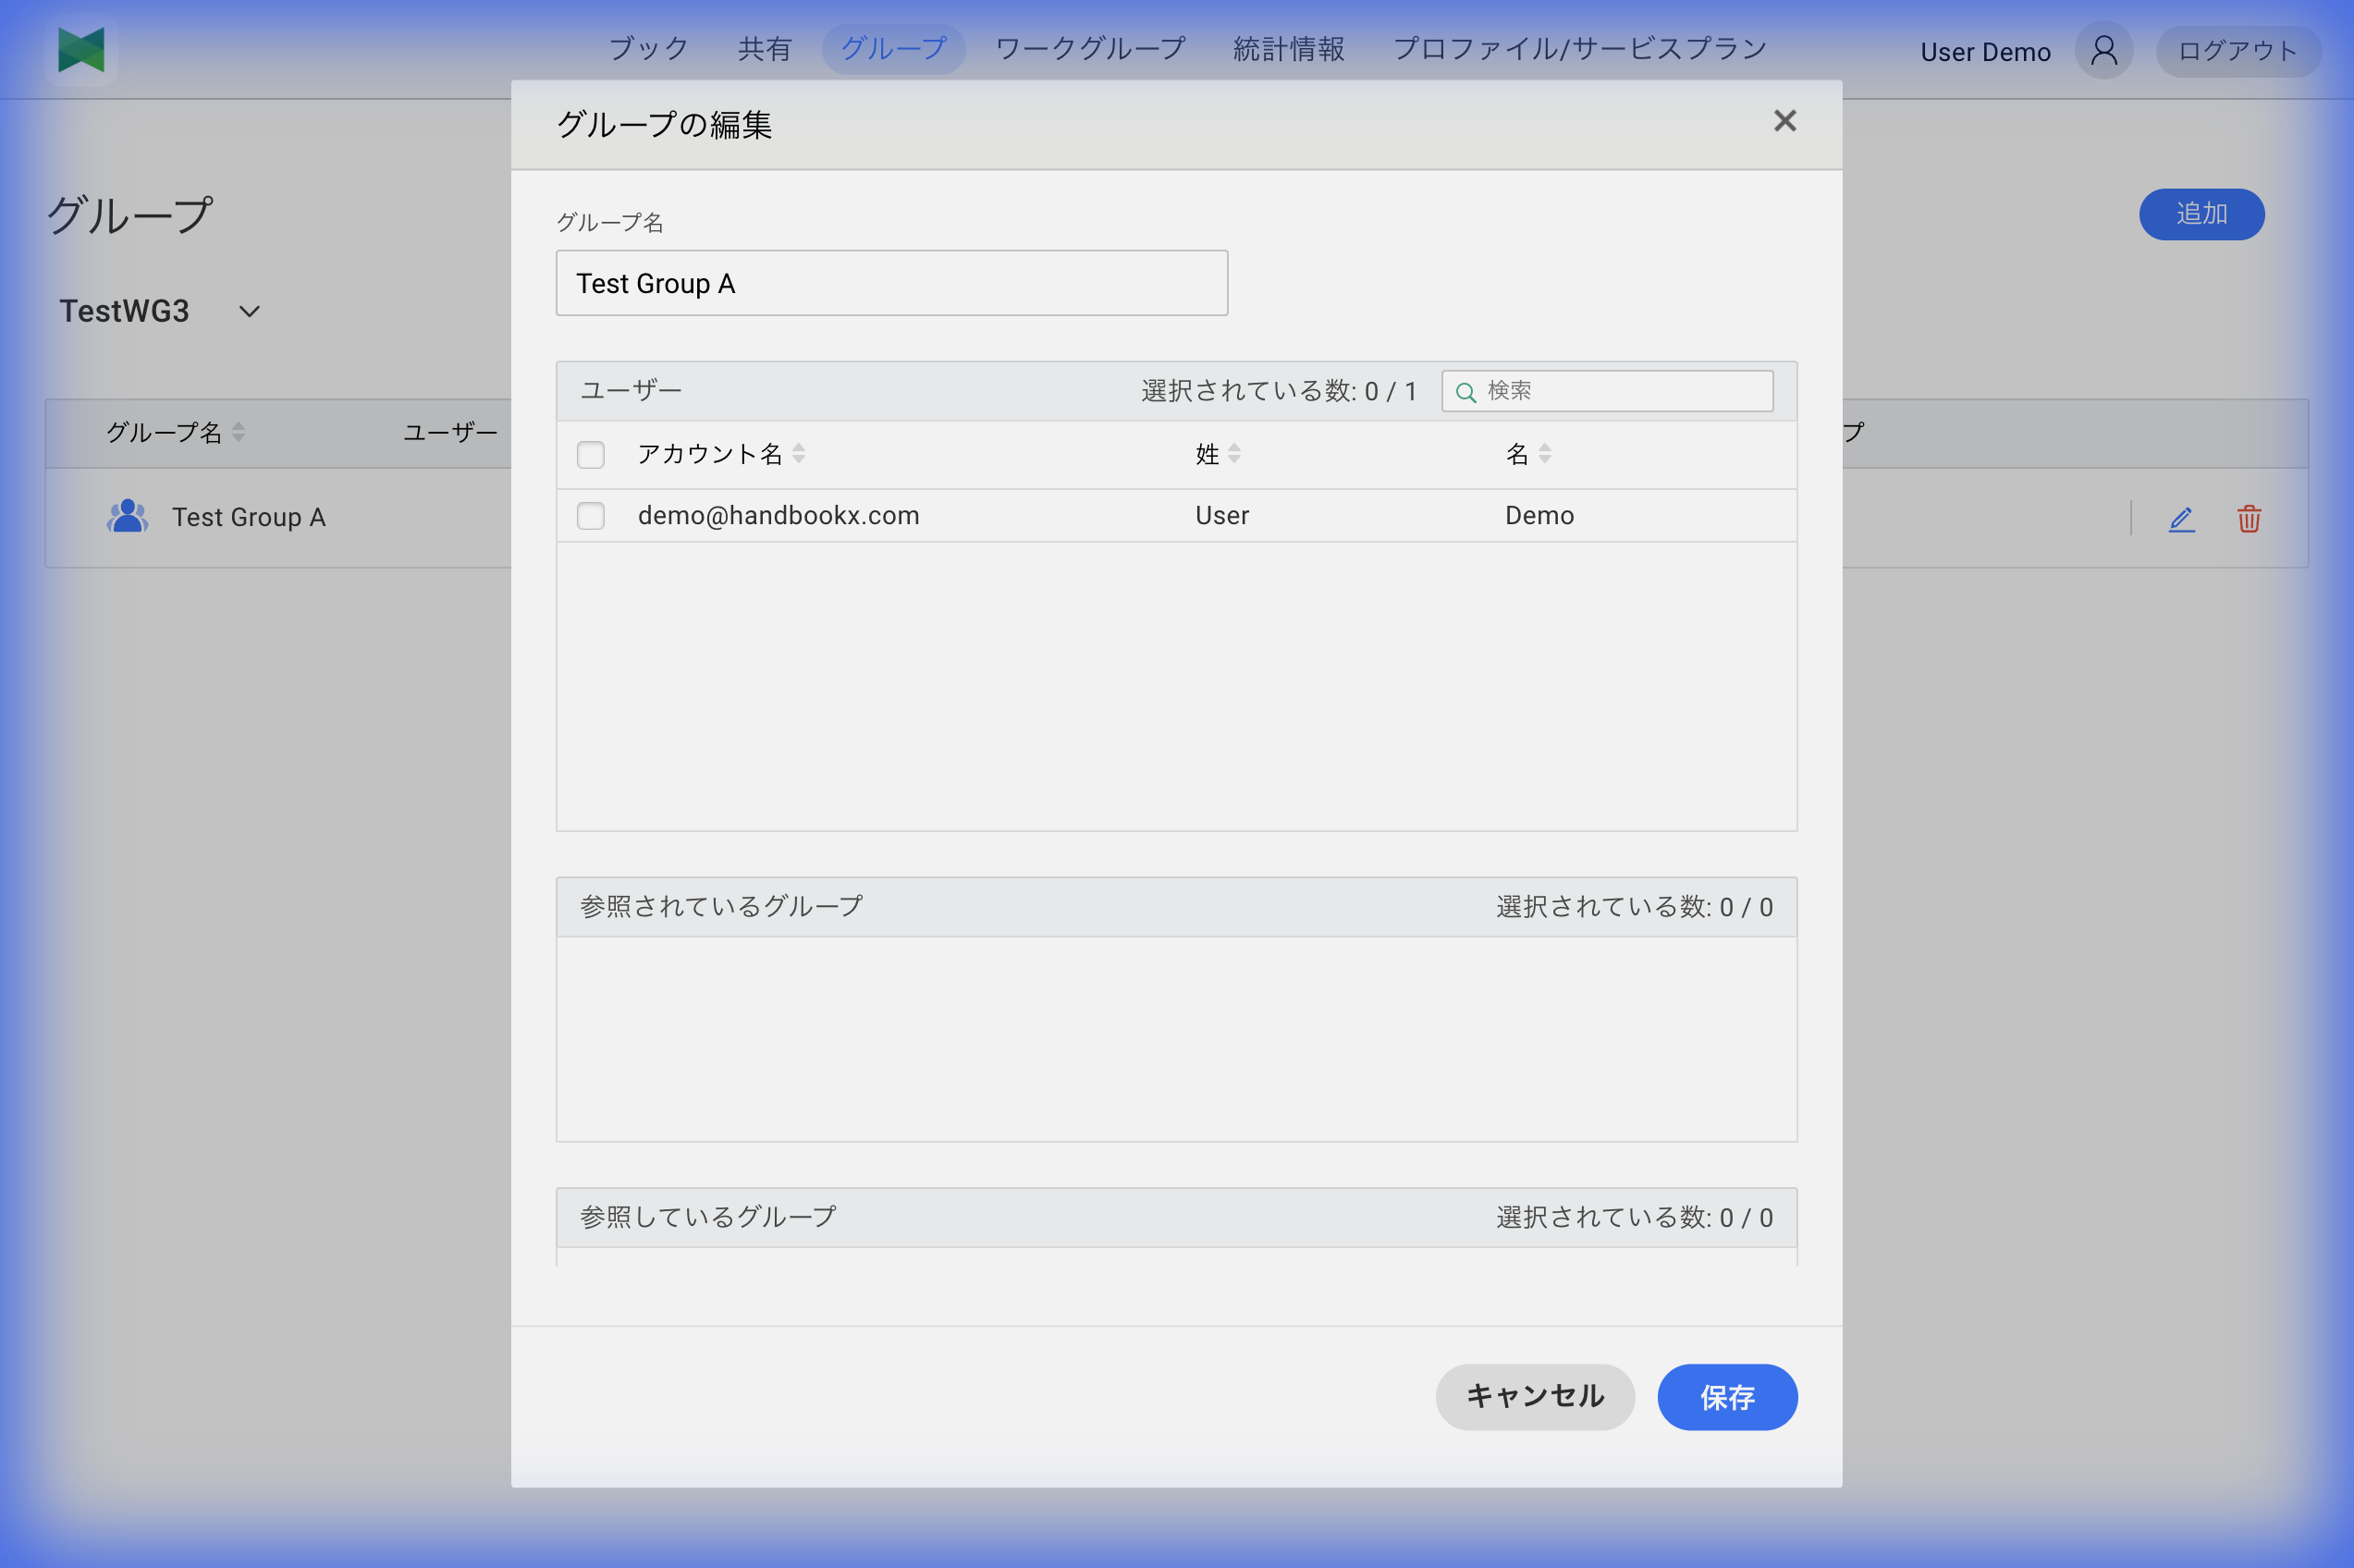
- Modify the information:
- Group Name
- Add/remove users
- Change Referenced groups/Reference Group
- Click the Save button
5.5 Removing a Group
To remove a group:
- Click the Remove button (
 ) of the group you want to remove in the group list
 - The "Remove Group" confirmation dialog appears
- Click the Remove button
Note: Removing a group does not delete the users who belonged to the group.
Note: Removing a group also removes sharing settings for that group.
5.6 Managing Group Users
Adding Users
- Open the Edit Group dialog
- Select users' checkboxes in the Users section
- Click the Save button
Removing Users
- Open the Edit Group dialog
- Uncheck the checkbox of the user you want to remove in the Users section
- Click the Save button
Viewing All Users
- Click the "..." icon in the group list
- The group users list dialog appears
- You can view all users
5.7 Referenced Groups and Reference Groups
Groups can have a hierarchical structure.
Referenced Groups (Parent Groups)
- "Referenced groups" are parent groups that reference this group
- Sharing to referenced groups automatically applies to this group as well
Reference Groups (Child Groups)
- "Reference Group" are child groups that this group references
- Sharing to reference groups does not apply to this group
Setting Hierarchy
- Open the Edit Group dialog
- Select groups' checkboxes in the Referenced groups or Reference Group section
- Click the Save button
Tip: You can represent organizational structures like Department > Team > Project using groups.
Group Limitations
| Item | Limit |
|---|---|
| Users per group | No limit |
| Referenced groups (parent groups) per group | Maximum 100 |
| Reference groups (child groups) per group | Maximum 100 |
5.8 Importing Groups
You can bulk import groups and users from a CSV file.
- Click the Import button (
 )
) - The Import dialog appears
- Select a CSV file
- Preview the content
- Click the Import button
CSV error display: When the CSV has syntax or validation errors, the Import dialog now shows a red-icon error card with the error message and a hint that explains what to fix (e.g. required column names, required fields). Update the CSV based on the message and try again.
CSV File Format
Important: The CSV header (column names) must use the exact English labels shown below. Other label names are not supported.
GroupID,Groupname,UserMember,OrganizationGroupMember
,Sales,user1@example.com,
,Sales,user2@example.com,
,Development,user3@example.com,
| Column Name | Required | Description |
|---|---|---|
| GroupID | - | Group ID (leave empty for new groups) |
| Groupname | ○ | Name of the group |
| UserMember | ○ | User's email address |
| OrganizationGroupMember | - | Organization group member (usually empty) |
Note: Users to be imported must already be members of the workgroup.
5.9 Exporting Groups
You can export group and user information as a CSV file.
- Click the Export button (
 )
) - The Export dialog appears
- Select groups to export (all or selected)
- Click the Export button
- A CSV file is downloaded
Exported CSV Format
The exported CSV uses the same format as import, containing the following columns:
GroupID,Groupname,UserMember,OrganizationGroupMember
642bcbd2-56a8-4b6e-817b-2b9069394f56,Sales,user1@example.com,
642bcbd2-56a8-4b6e-817b-2b9069394f56,Sales,user2@example.com,
| Column Name | Description |
|---|---|
| GroupID | Unique identifier for the group (UUID) |
| Groupname | Name of the group |
| UserMember | User's email address |
| OrganizationGroupMember | Organization group member |
Tip: You can edit the exported CSV file and re-import it to perform bulk updates.