2. Login
2.1 Login Screen
When you access Handbook X Coordinator, the login screen is displayed.
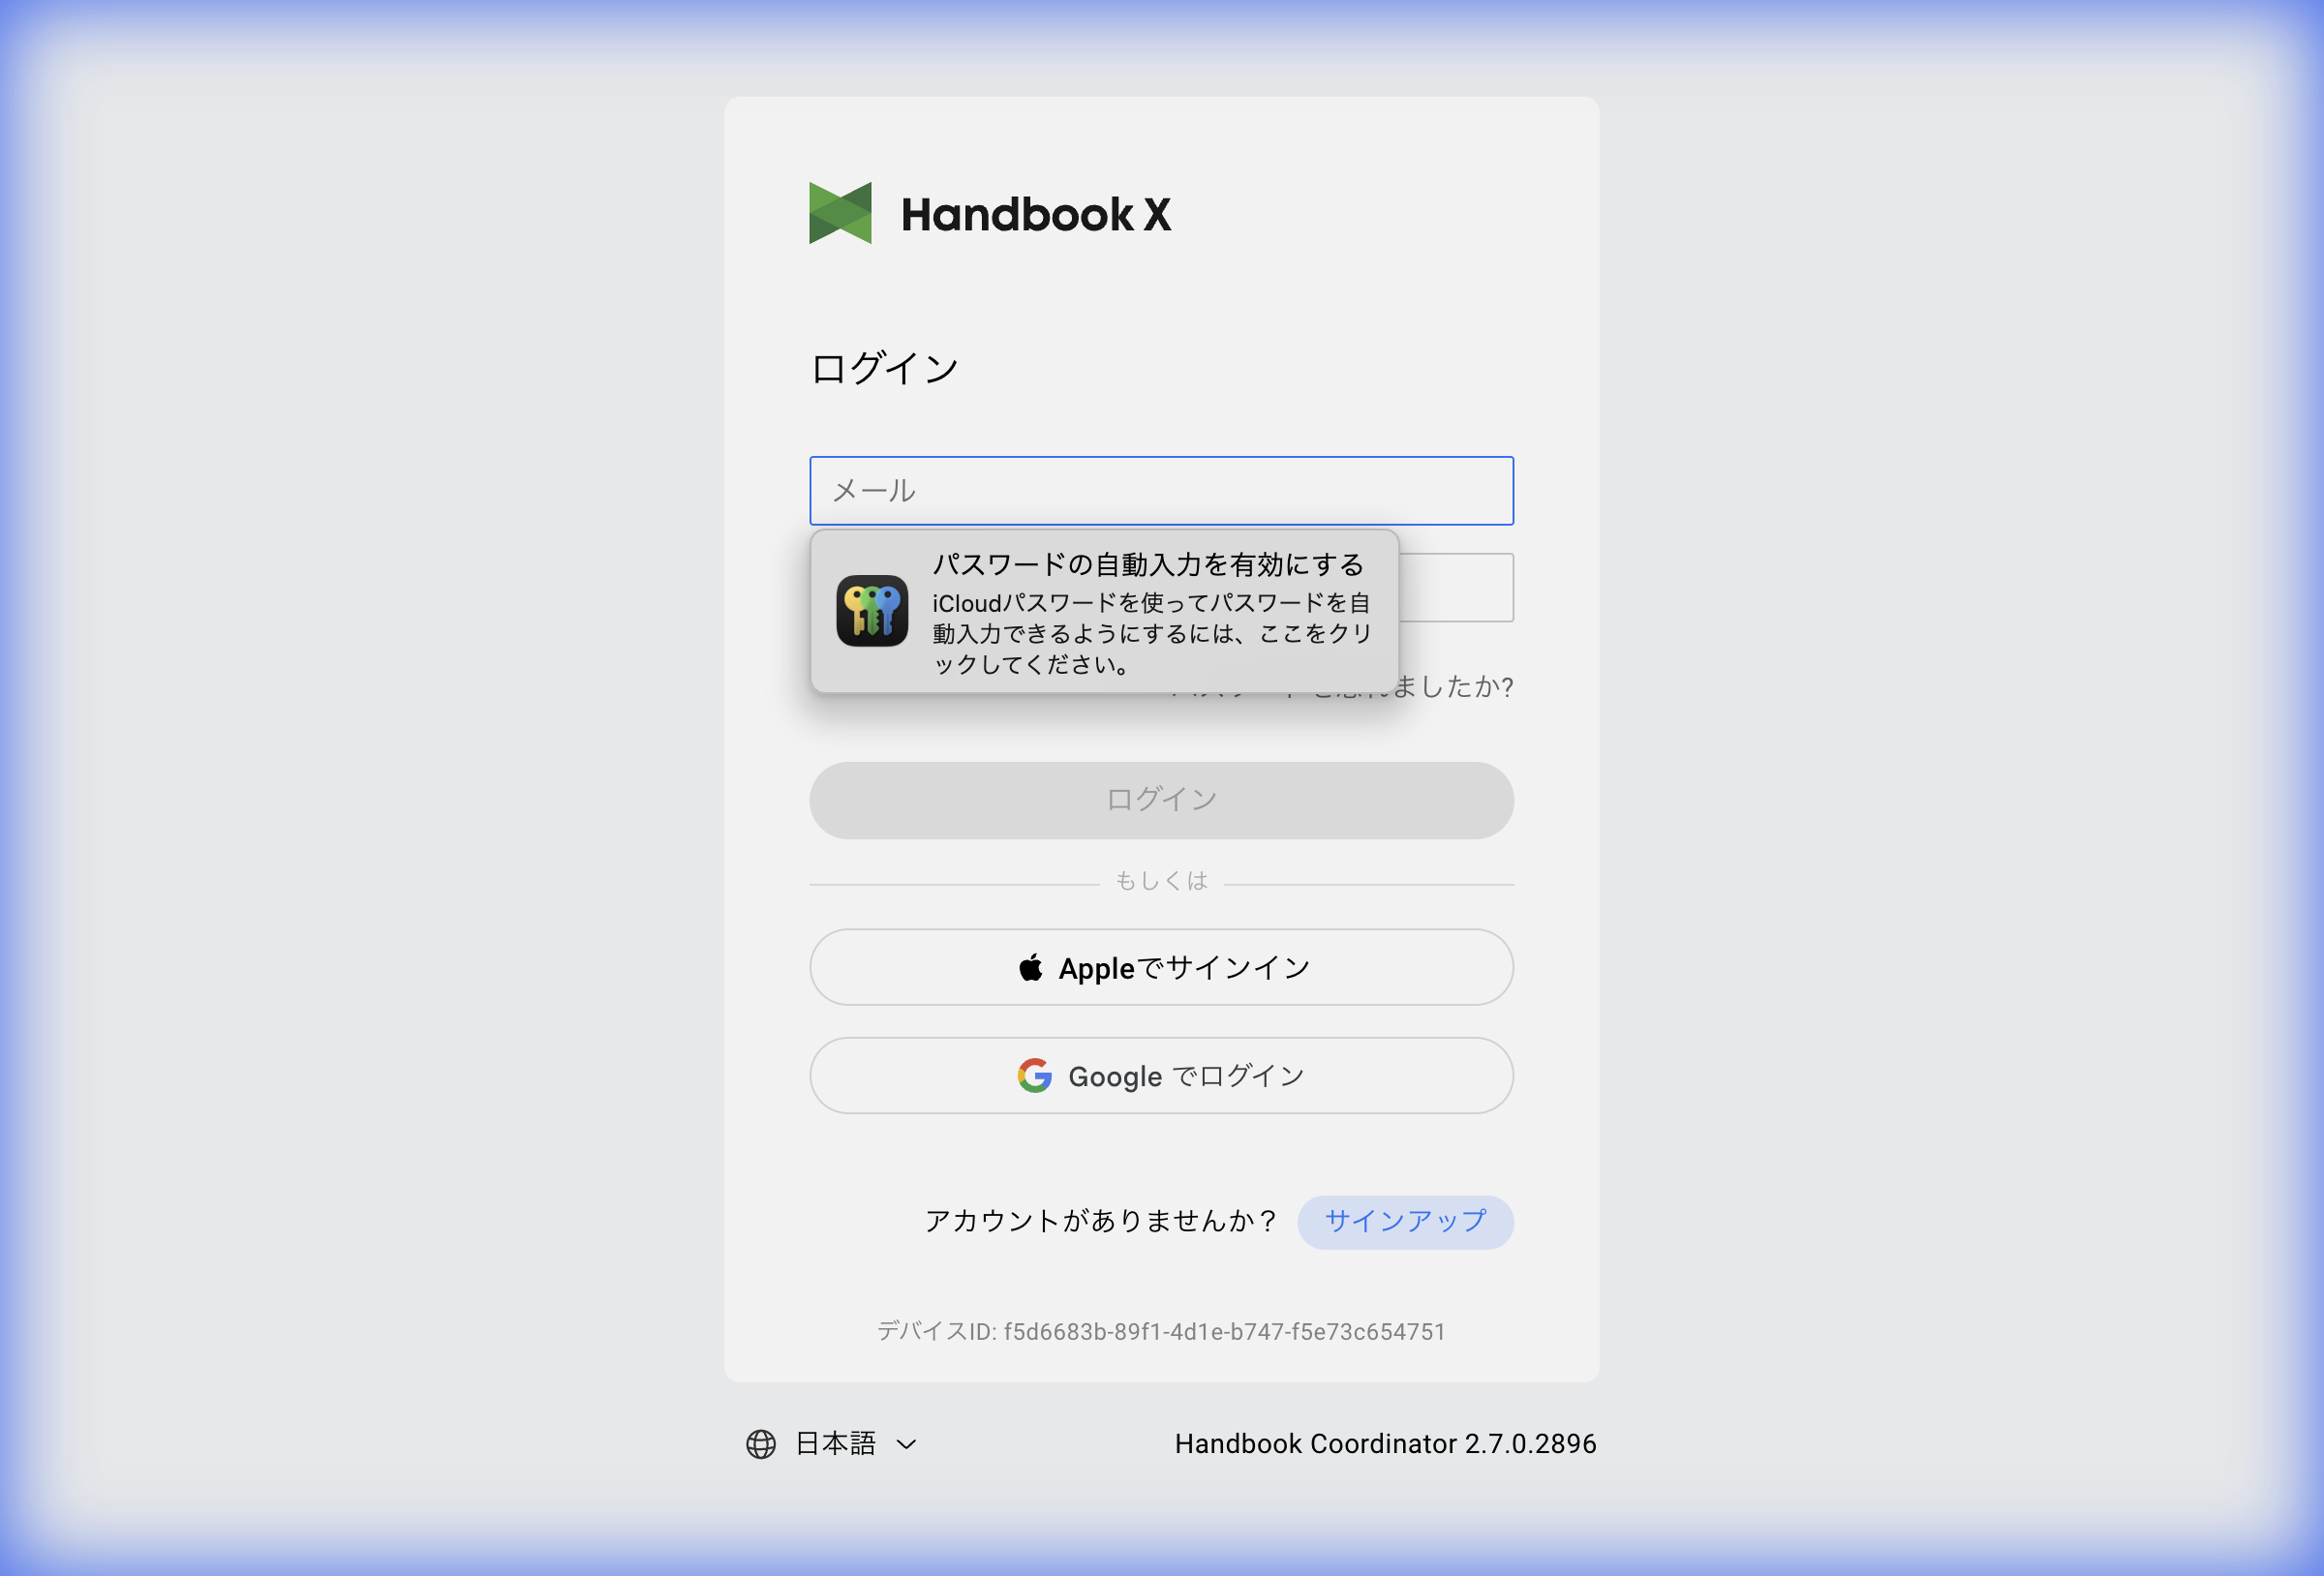
The following operations are available on the login screen:
- Login with email and password
- Login with Apple ID (cloud version only)
- Login with Google account (cloud version only)
- Password reset
- New account registration (cloud version only)
- Language switching (Japanese/English)
2.2 Login with Email and Password
- Enter your Email
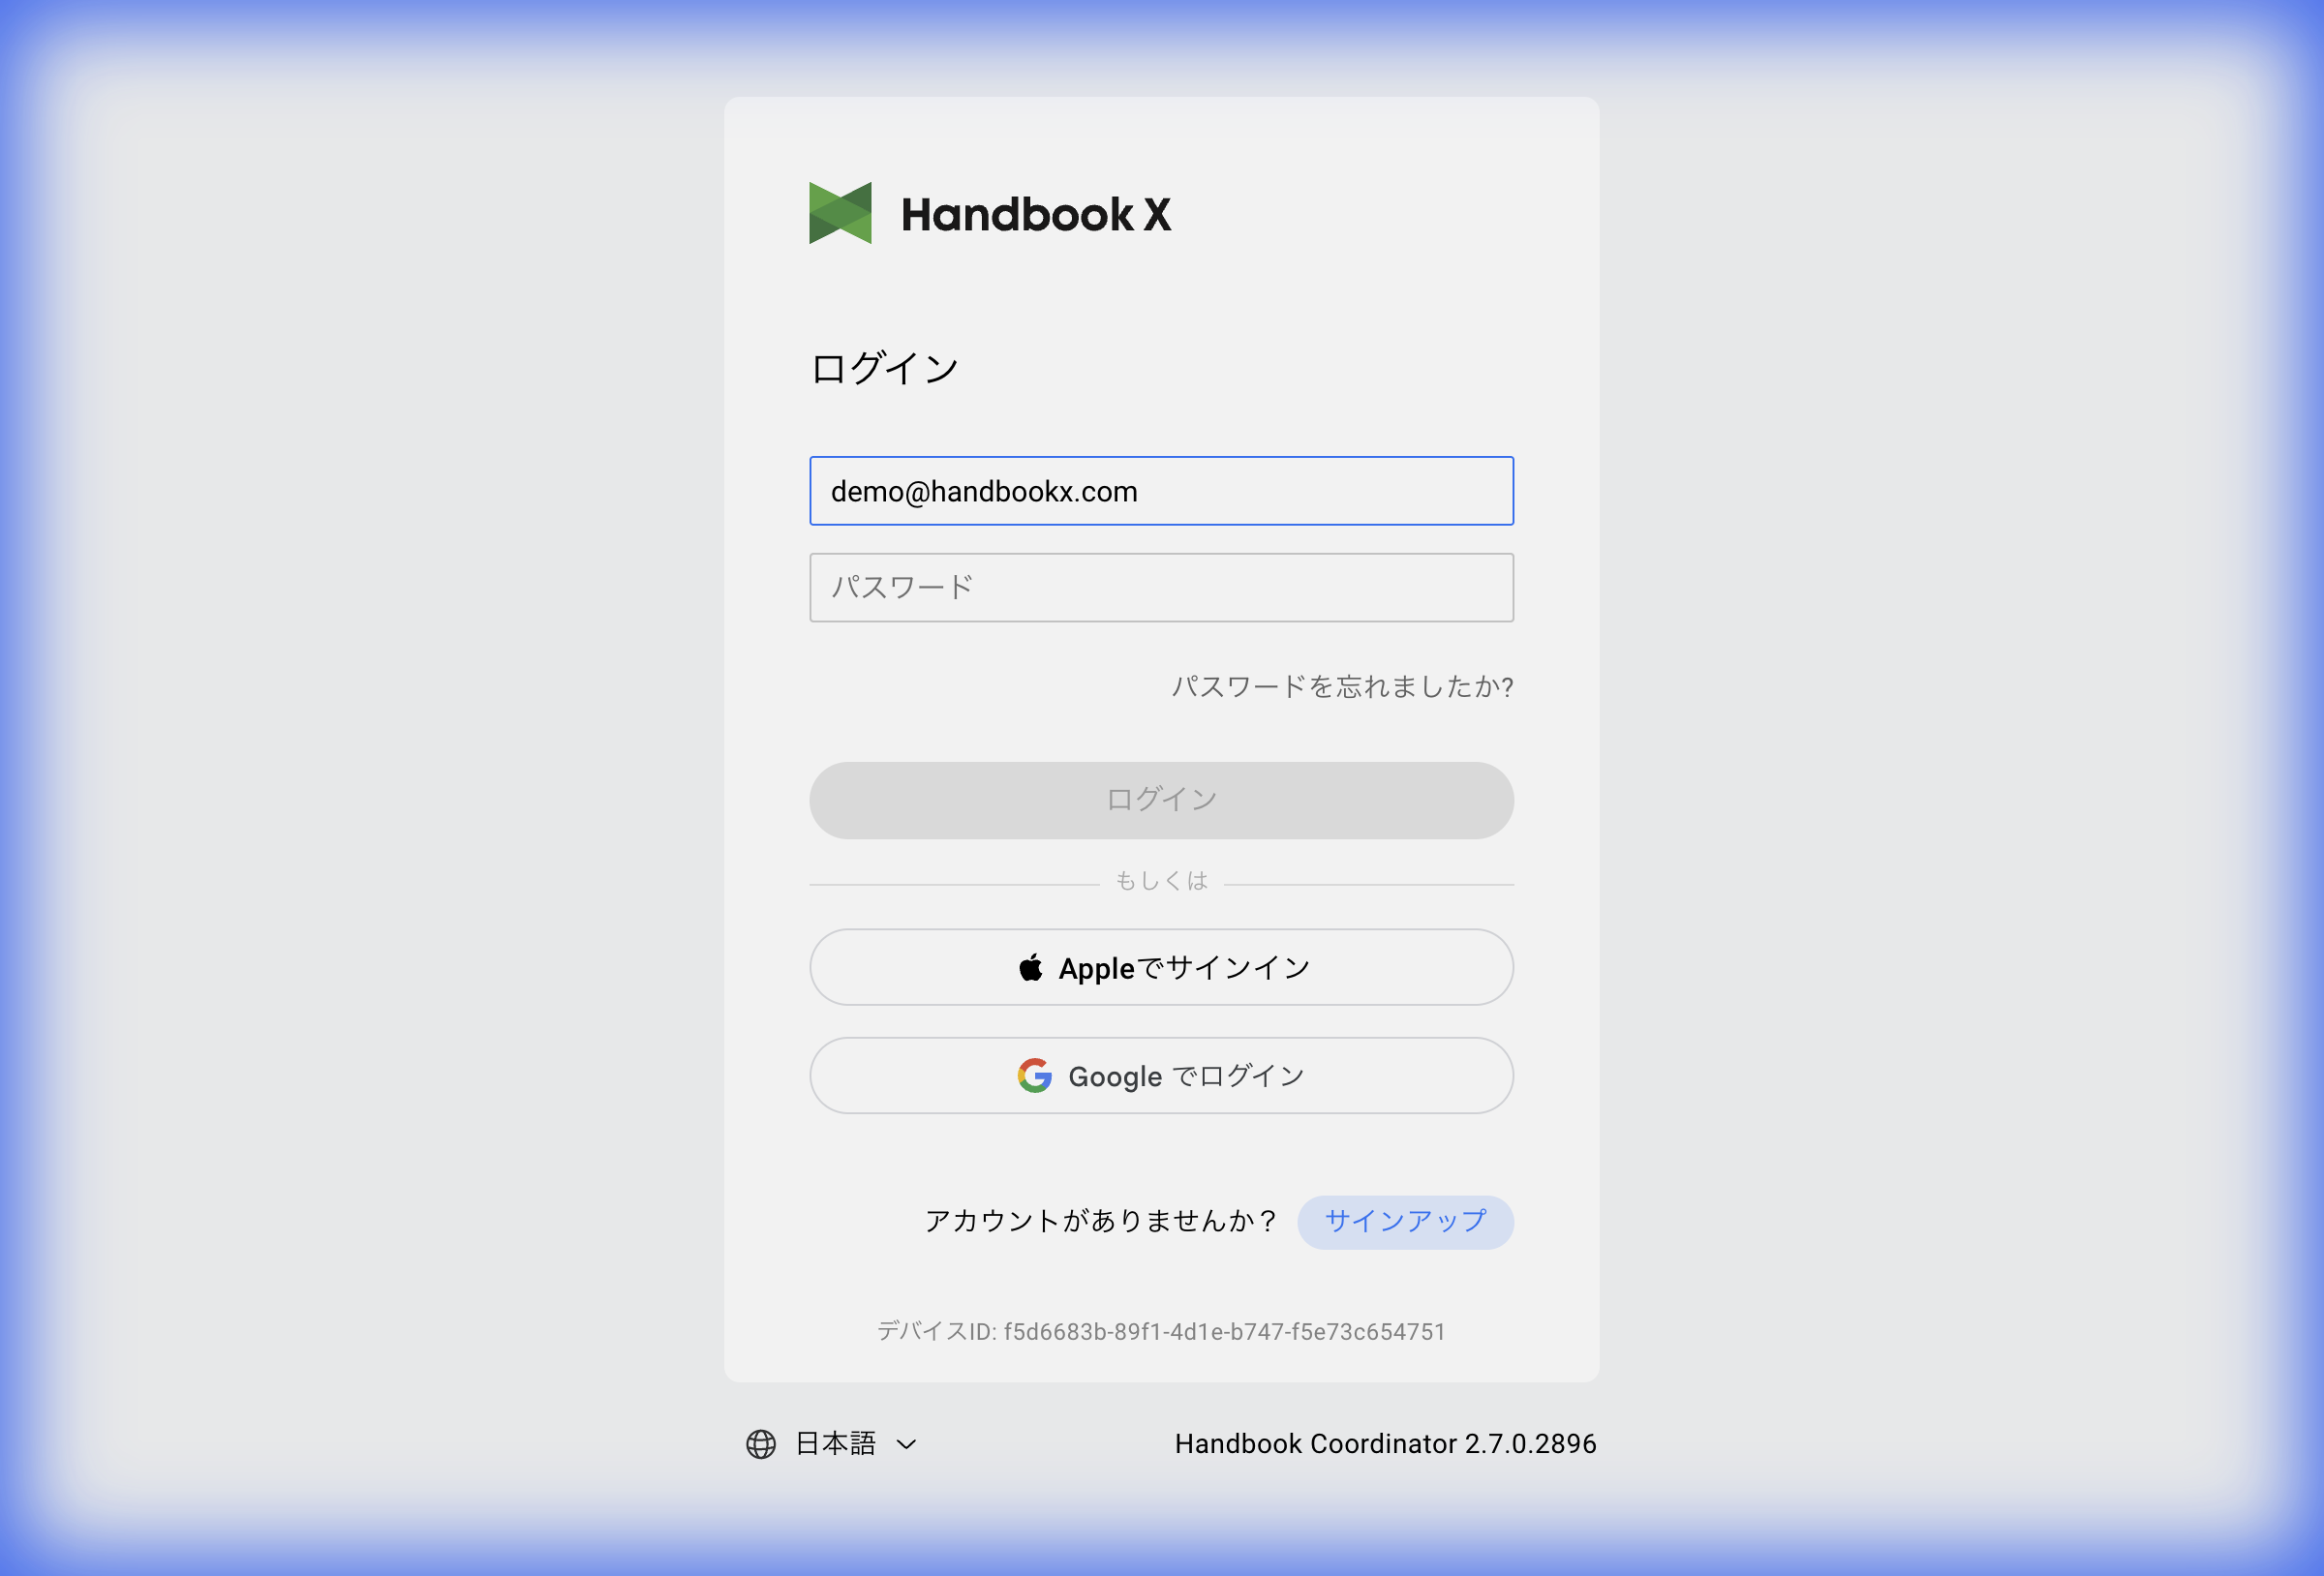
- Enter your Password
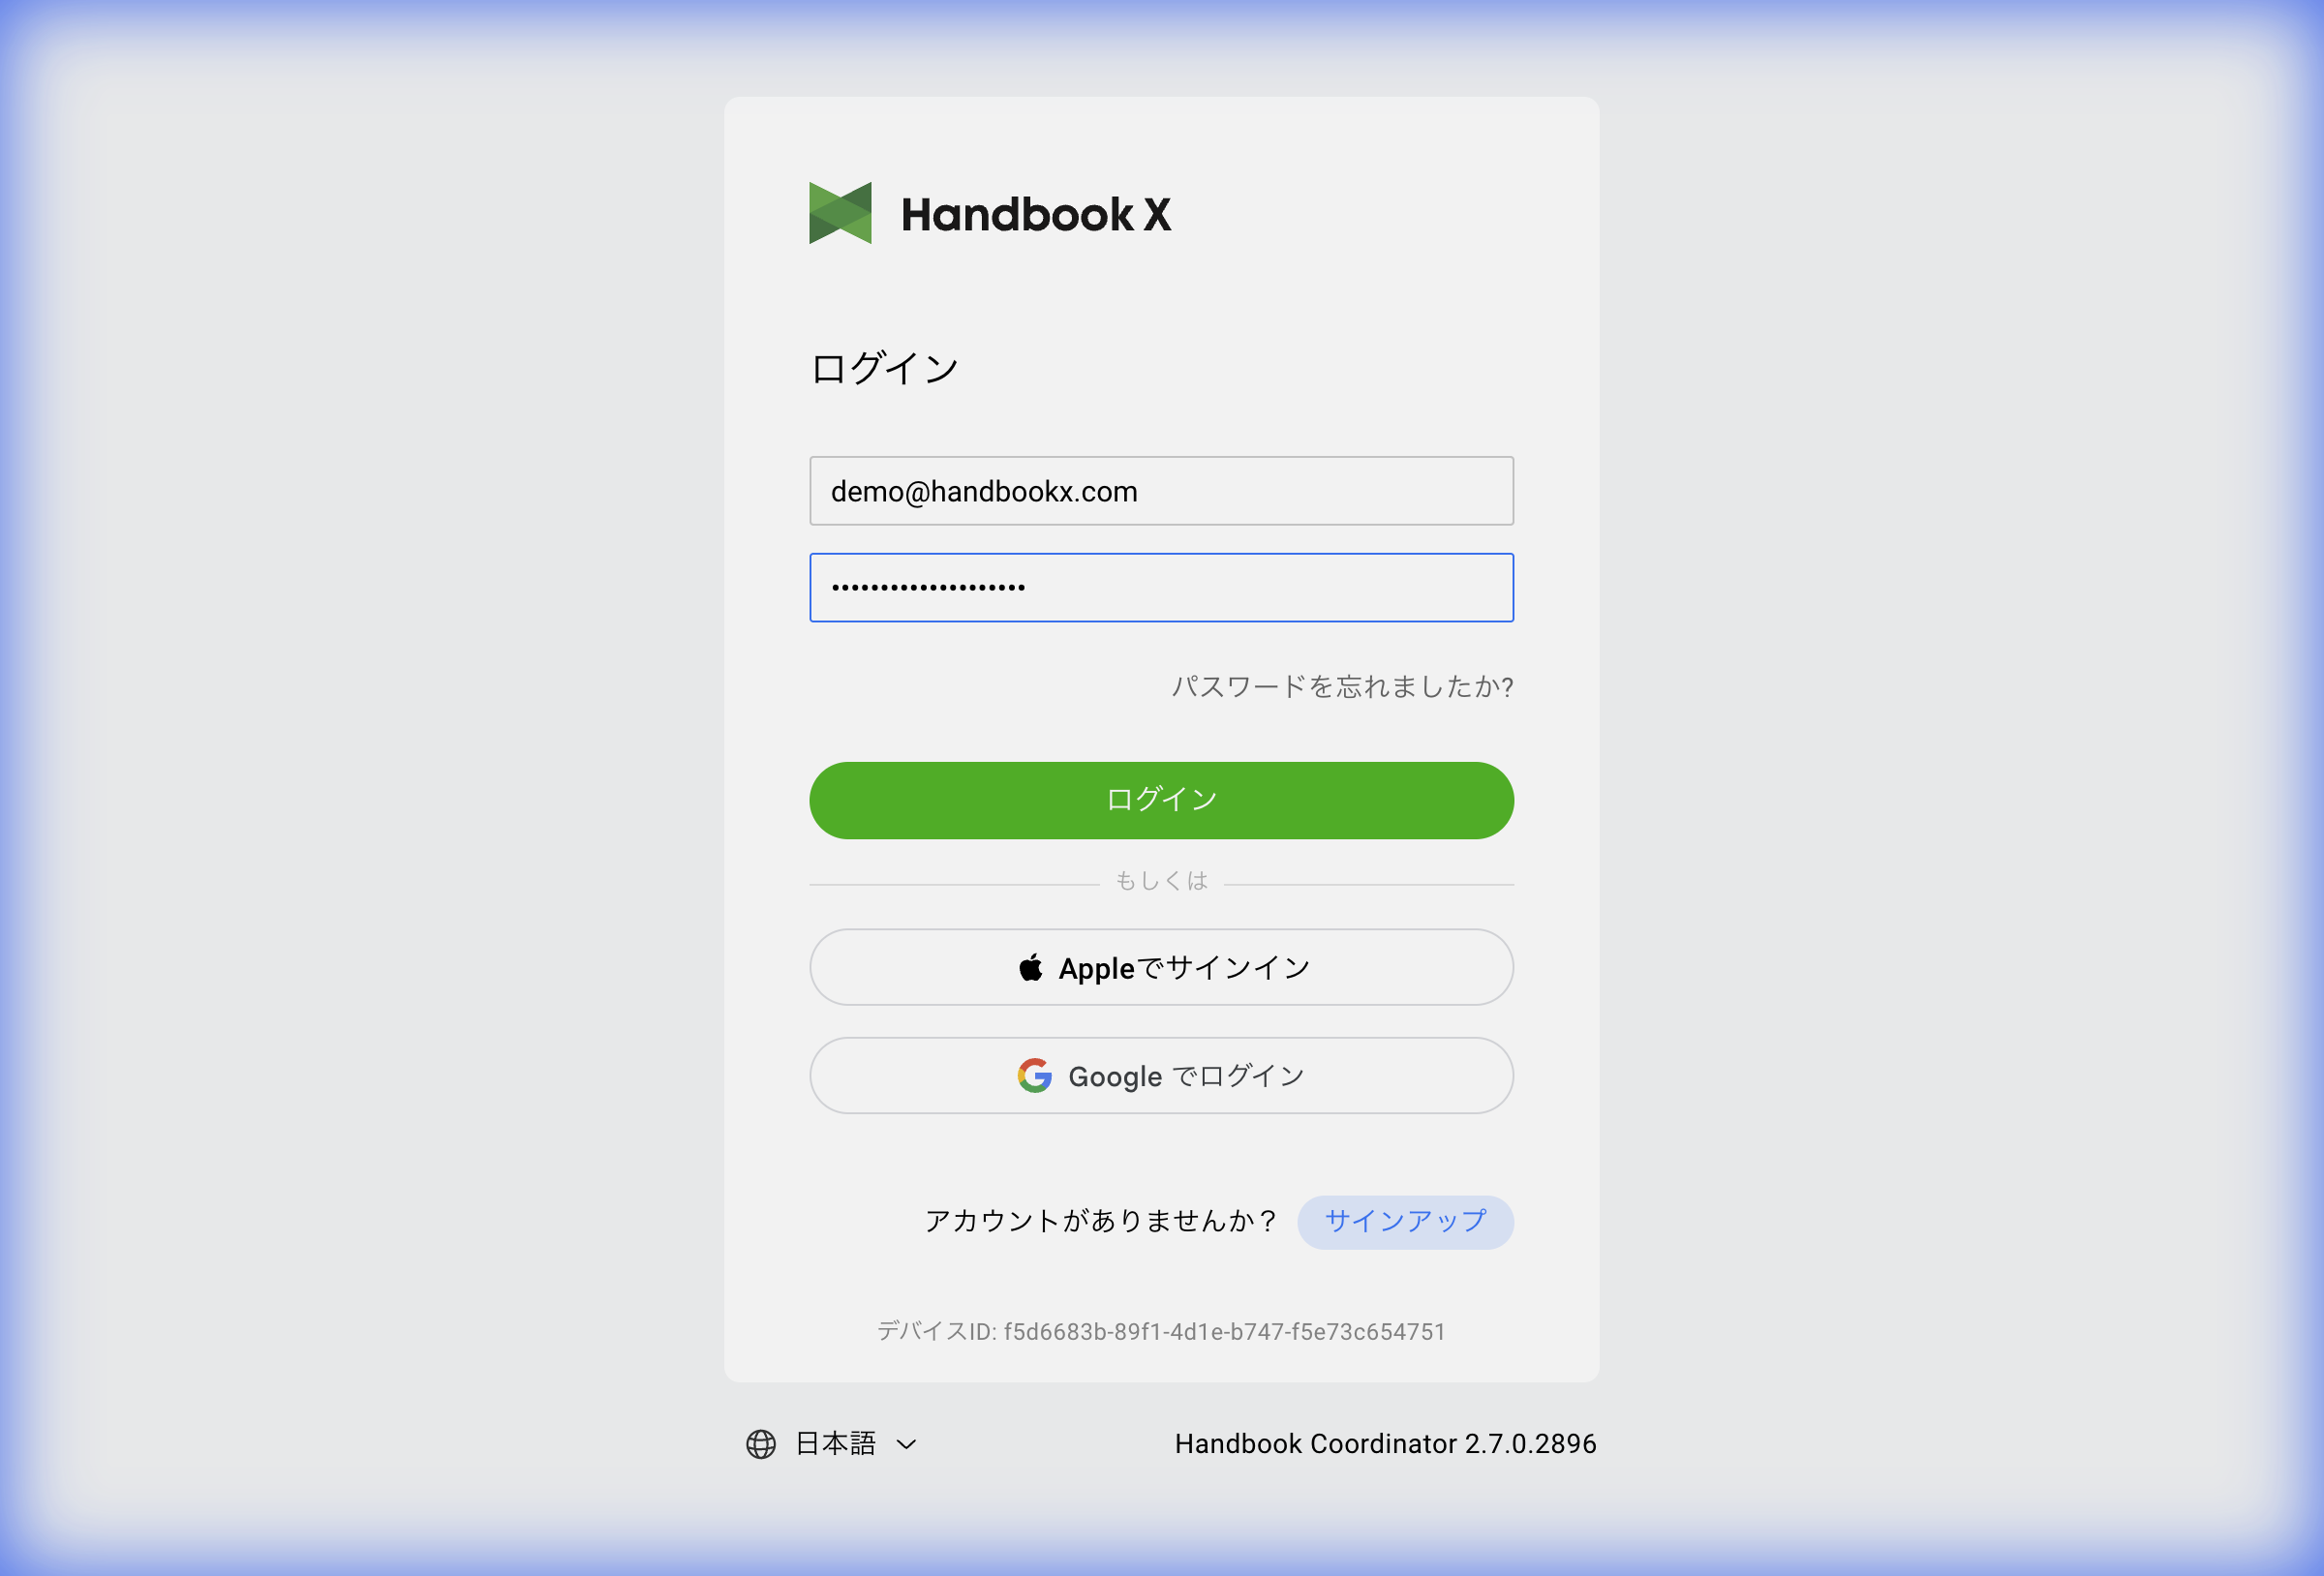
- Click the Login button
Upon successful login, you will be redirected to the book list screen.
If Login Fails
- If the email address or password is incorrect, an error message will be displayed
- If you forgot your password, click the "Forgot your password?" link
2.3 Social Login
Note: Social login is only available in the cloud version. It is not displayed in the dedicated server version.
Login with Apple ID
- Click the Sign in with Apple button
- The Apple ID authentication screen is displayed
- Enter your Apple ID and password to authenticate
- Upon successful authentication, you will be automatically logged in
Login with Google Account
- Click the Sign in with Google button
- The Google account selection screen is displayed
- Select the Google account you want to use for login
- Upon successful authentication, you will be automatically logged in
2.4 Forgot Your Password
The procedure for resetting your password depends on your environment.
Cloud Version
In the cloud version, you can receive a password reset email at your account email address.
- Click the "Forgot your password?" link on the login screen
- The password reset screen is displayed
- Enter your registered email address
- Click the Send button
- A password reset email will be sent to the entered email address
- Click the link in the email to set a new password
Note: Password reset links have an expiration period. If expired, please request a password reset again.
Dedicated Server Version
For the dedicated server version, the procedure depends on the type of account name used.
If Your Account Name is an Email Address
You can receive a password reset email, same as the cloud version.
- Click the "Forgot your password?" link on the login screen
- The password reset screen is displayed
- Enter your registered email address
- Click the Send button
- A password reset email will be sent to the entered email address
- Click the link in the email to set a new password
If Your Account Name is Not an Email Address
If your account name is not in email address format, you cannot receive the password reset email. In this case, you need to contact your organization's administrator to have your password reset.
For administrators: See 7.3 Editing an Account for instructions on resetting account passwords.
2.5 Device ID
The Device ID is displayed at the bottom of the login screen.
Device ID: xxxxxxxx-xxxx-xxxx-xxxx-xxxxxxxxxxxx
What is Device ID
The Device ID is a unique identifier for the browser/device you are using. It is used when the device restriction feature is enabled.
Copying the Device ID
Click on the Device ID to copy it to the clipboard. This is convenient when you need to provide your Device ID to an administrator.
Clearing the Device ID
Double-click on the Device ID to display a dialog to clear it.
Note: Clearing the Device ID may reset device restriction settings. Please confirm with your administrator before proceeding.
2.6 Switching Language
You can switch the display language in the footer of the login screen.
- Click the language icon at the bottom left of the screen
- The language selection menu is displayed
- Select English or Japanese
The selected language will also be applied to screens after login.
2.7 New Account Registration
Note: New account registration is only available in the cloud version.
If you don't have an account, you can register by following these steps:
- Click the "Sign up" button on the login screen
- The sign up screen is displayed
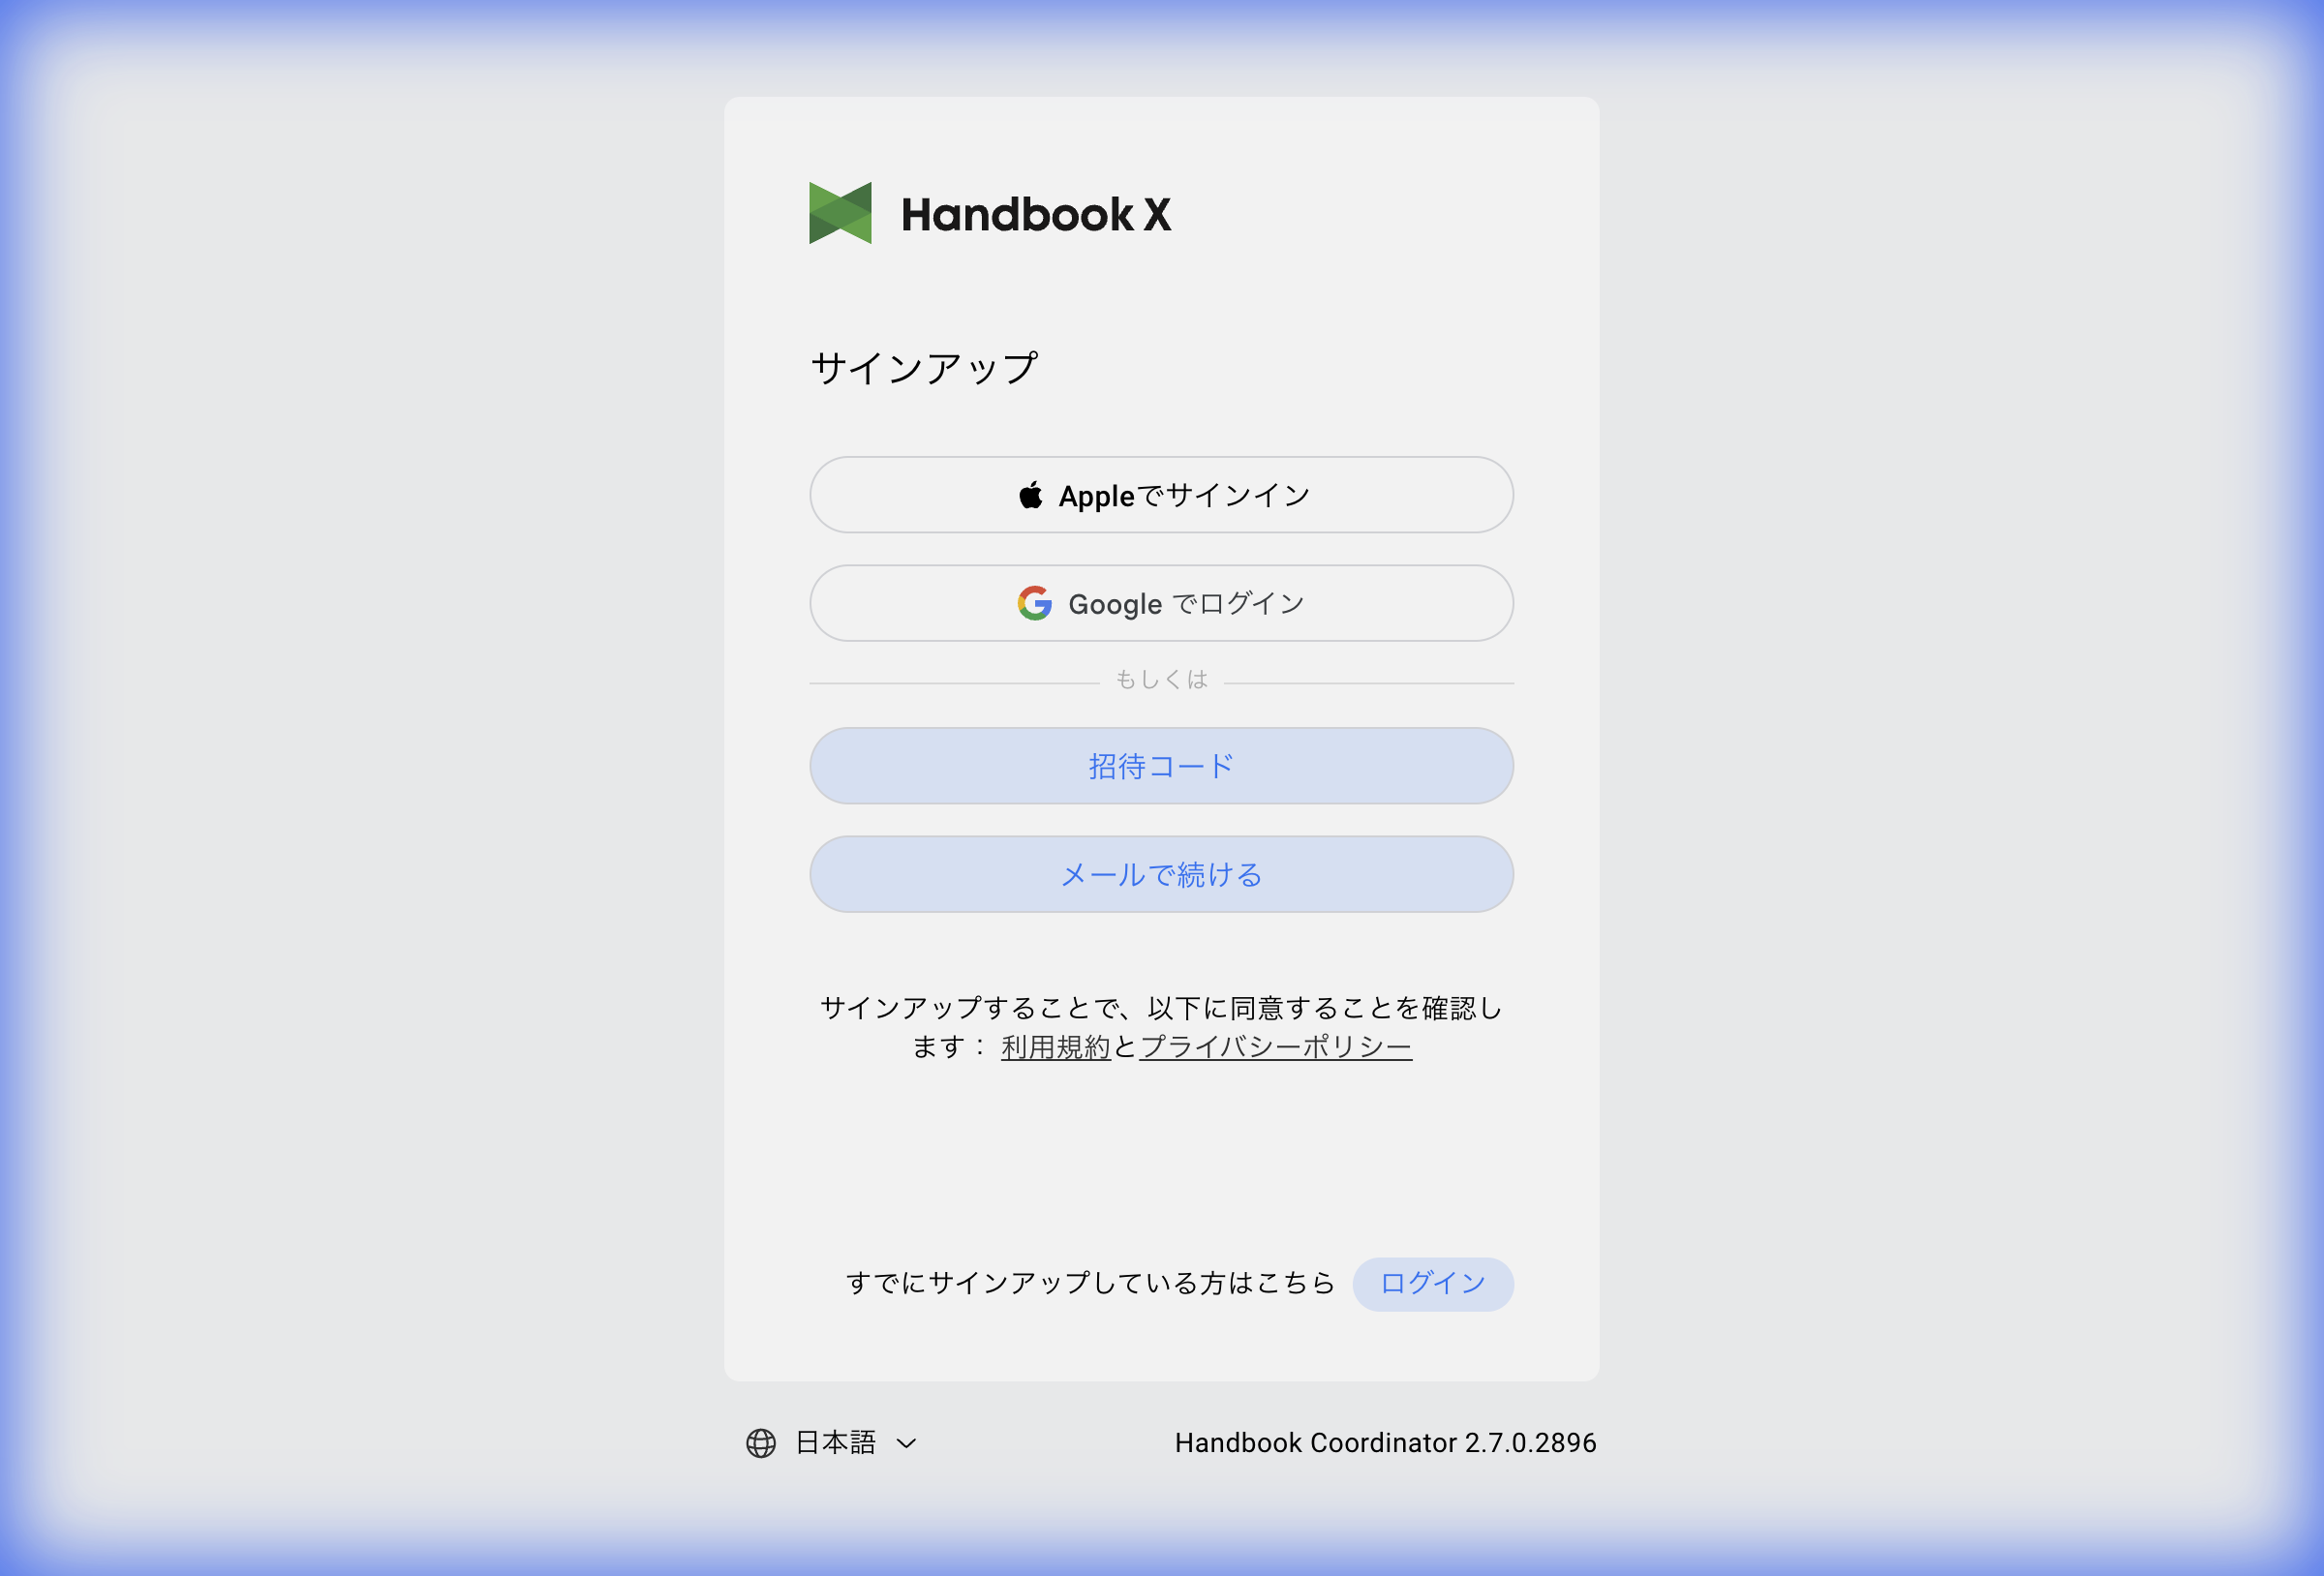
- Select your sign up method:
- Sign in with Apple: Register using Apple ID
- Sign in with Google: Register using Google account
- Invitation Code: Register using an invitation code
-
Continue with Email: Register with email and password
-
If you select "Continue with Email", the registration form is displayed
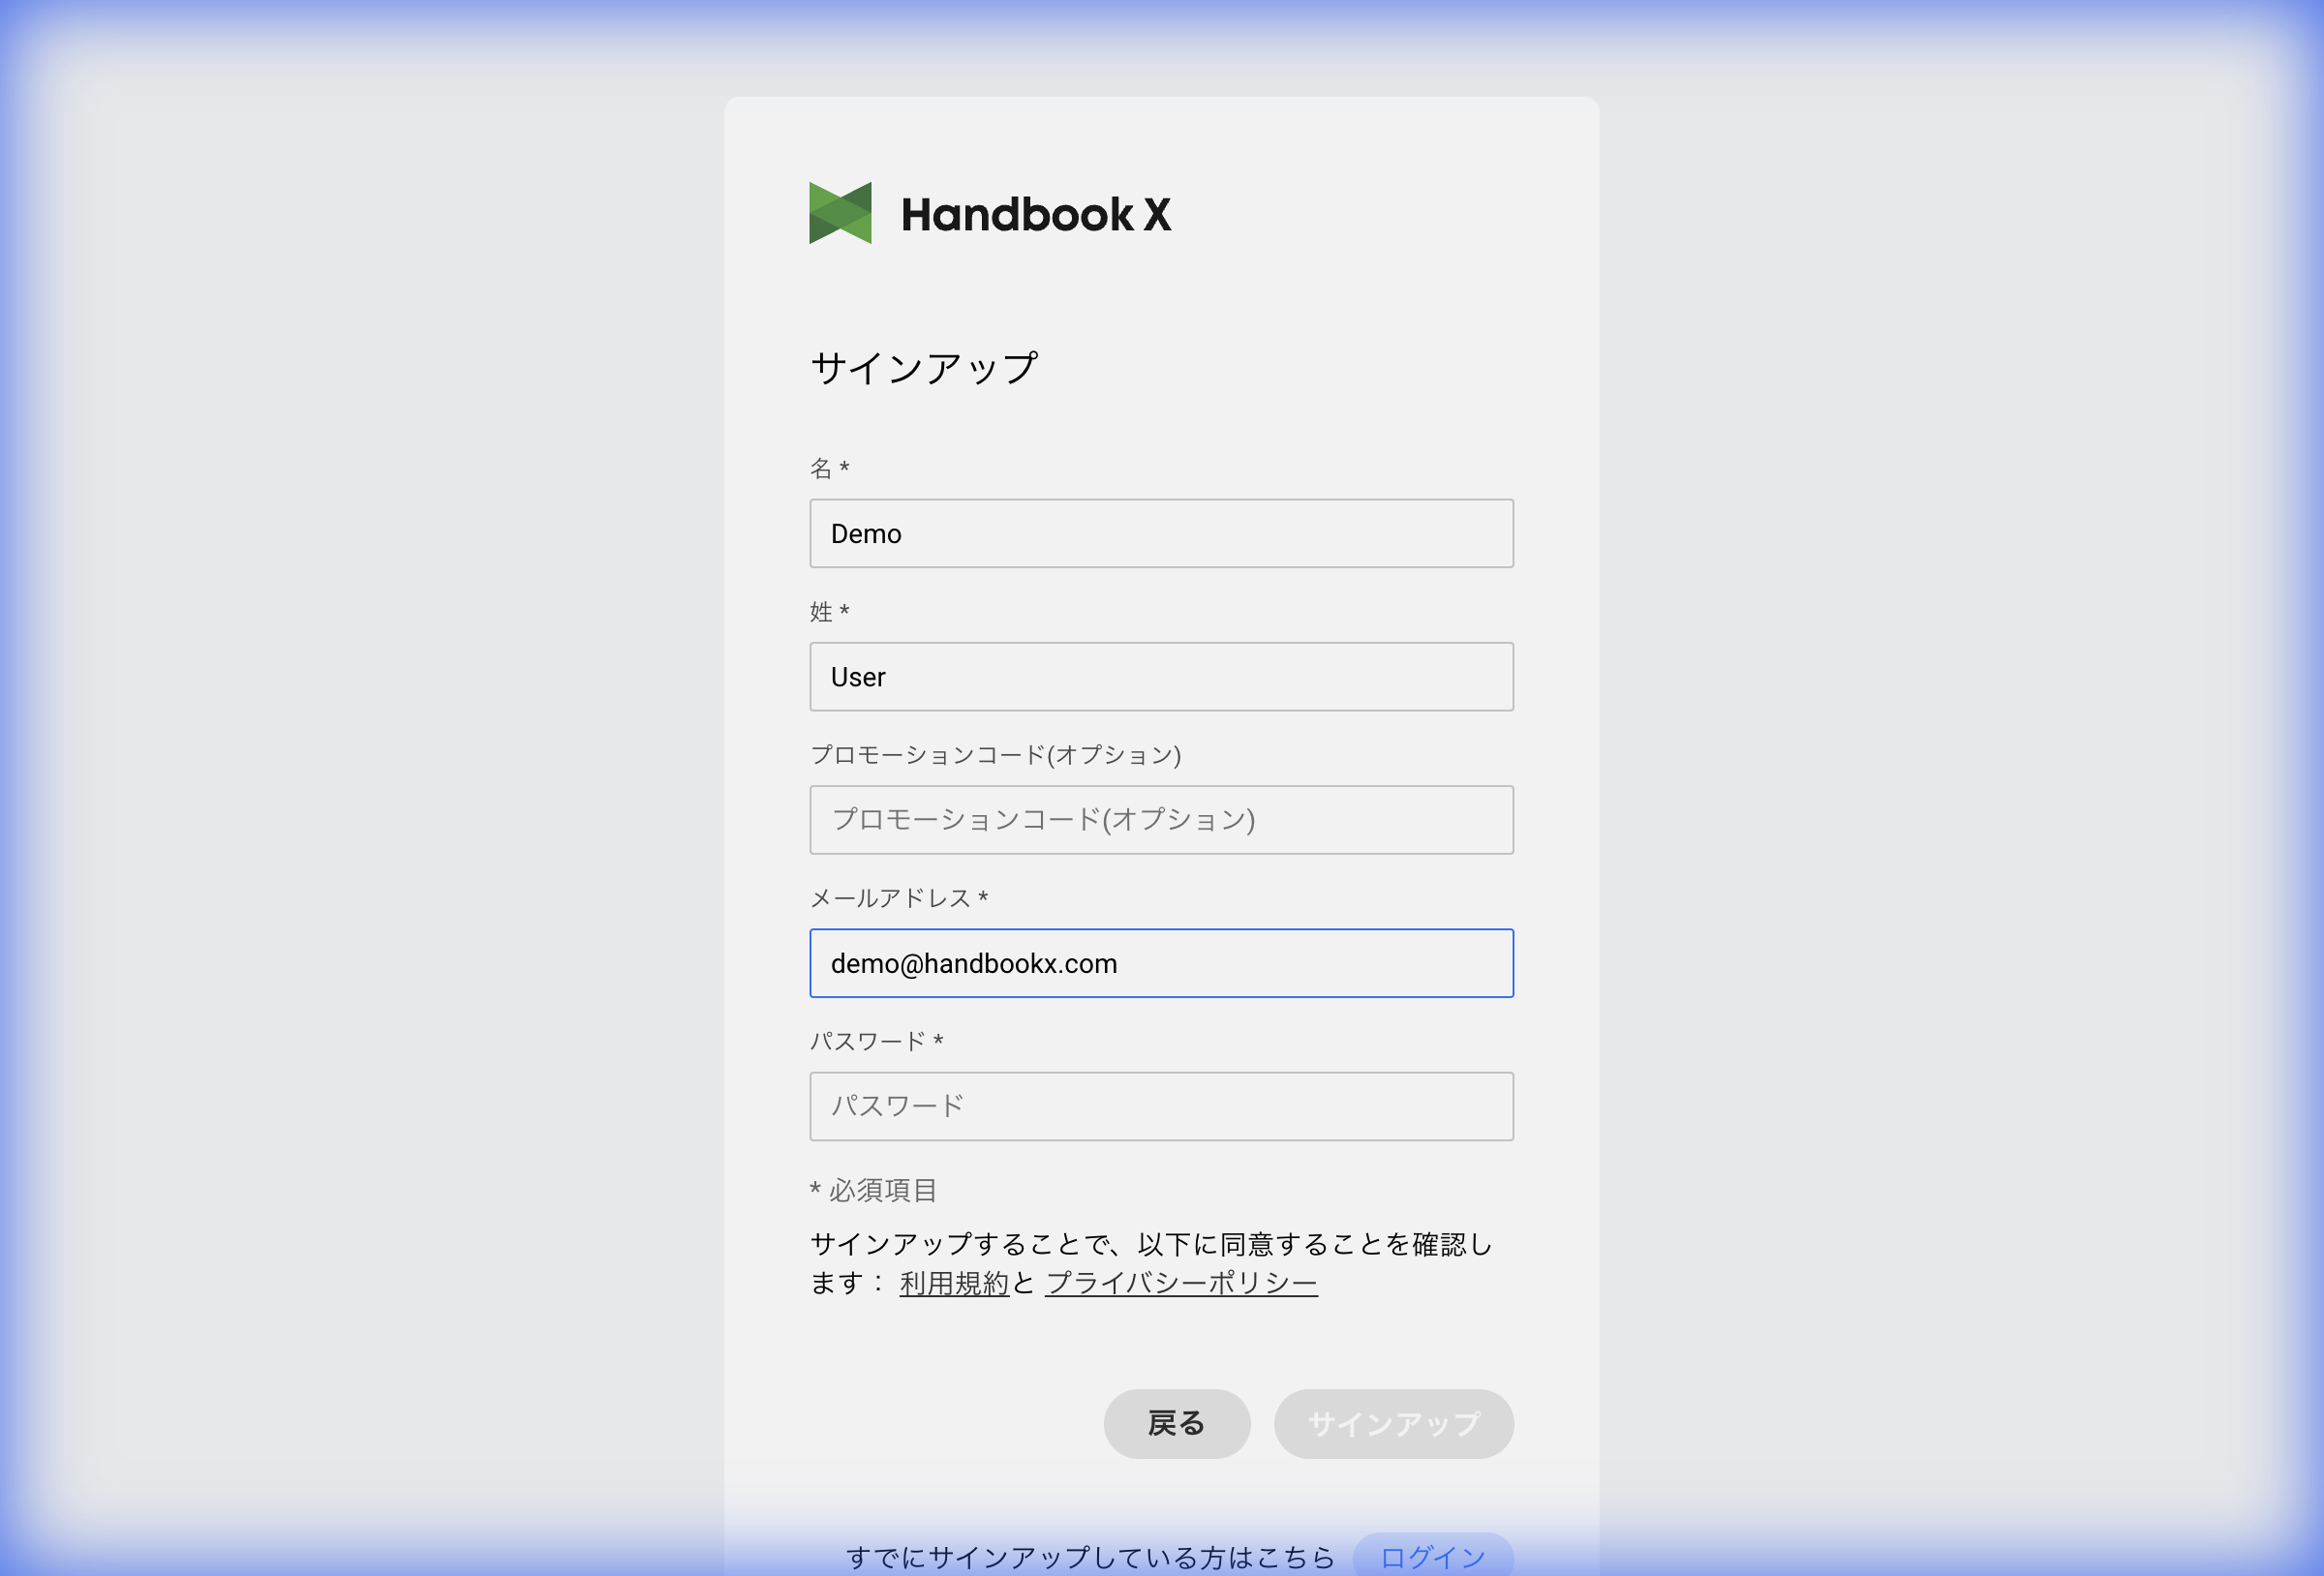
- Enter the required information:
- First Name (required)
- Last Name (required)
- Promotion Code (optional)
- Email Address (required)
- Password (required)
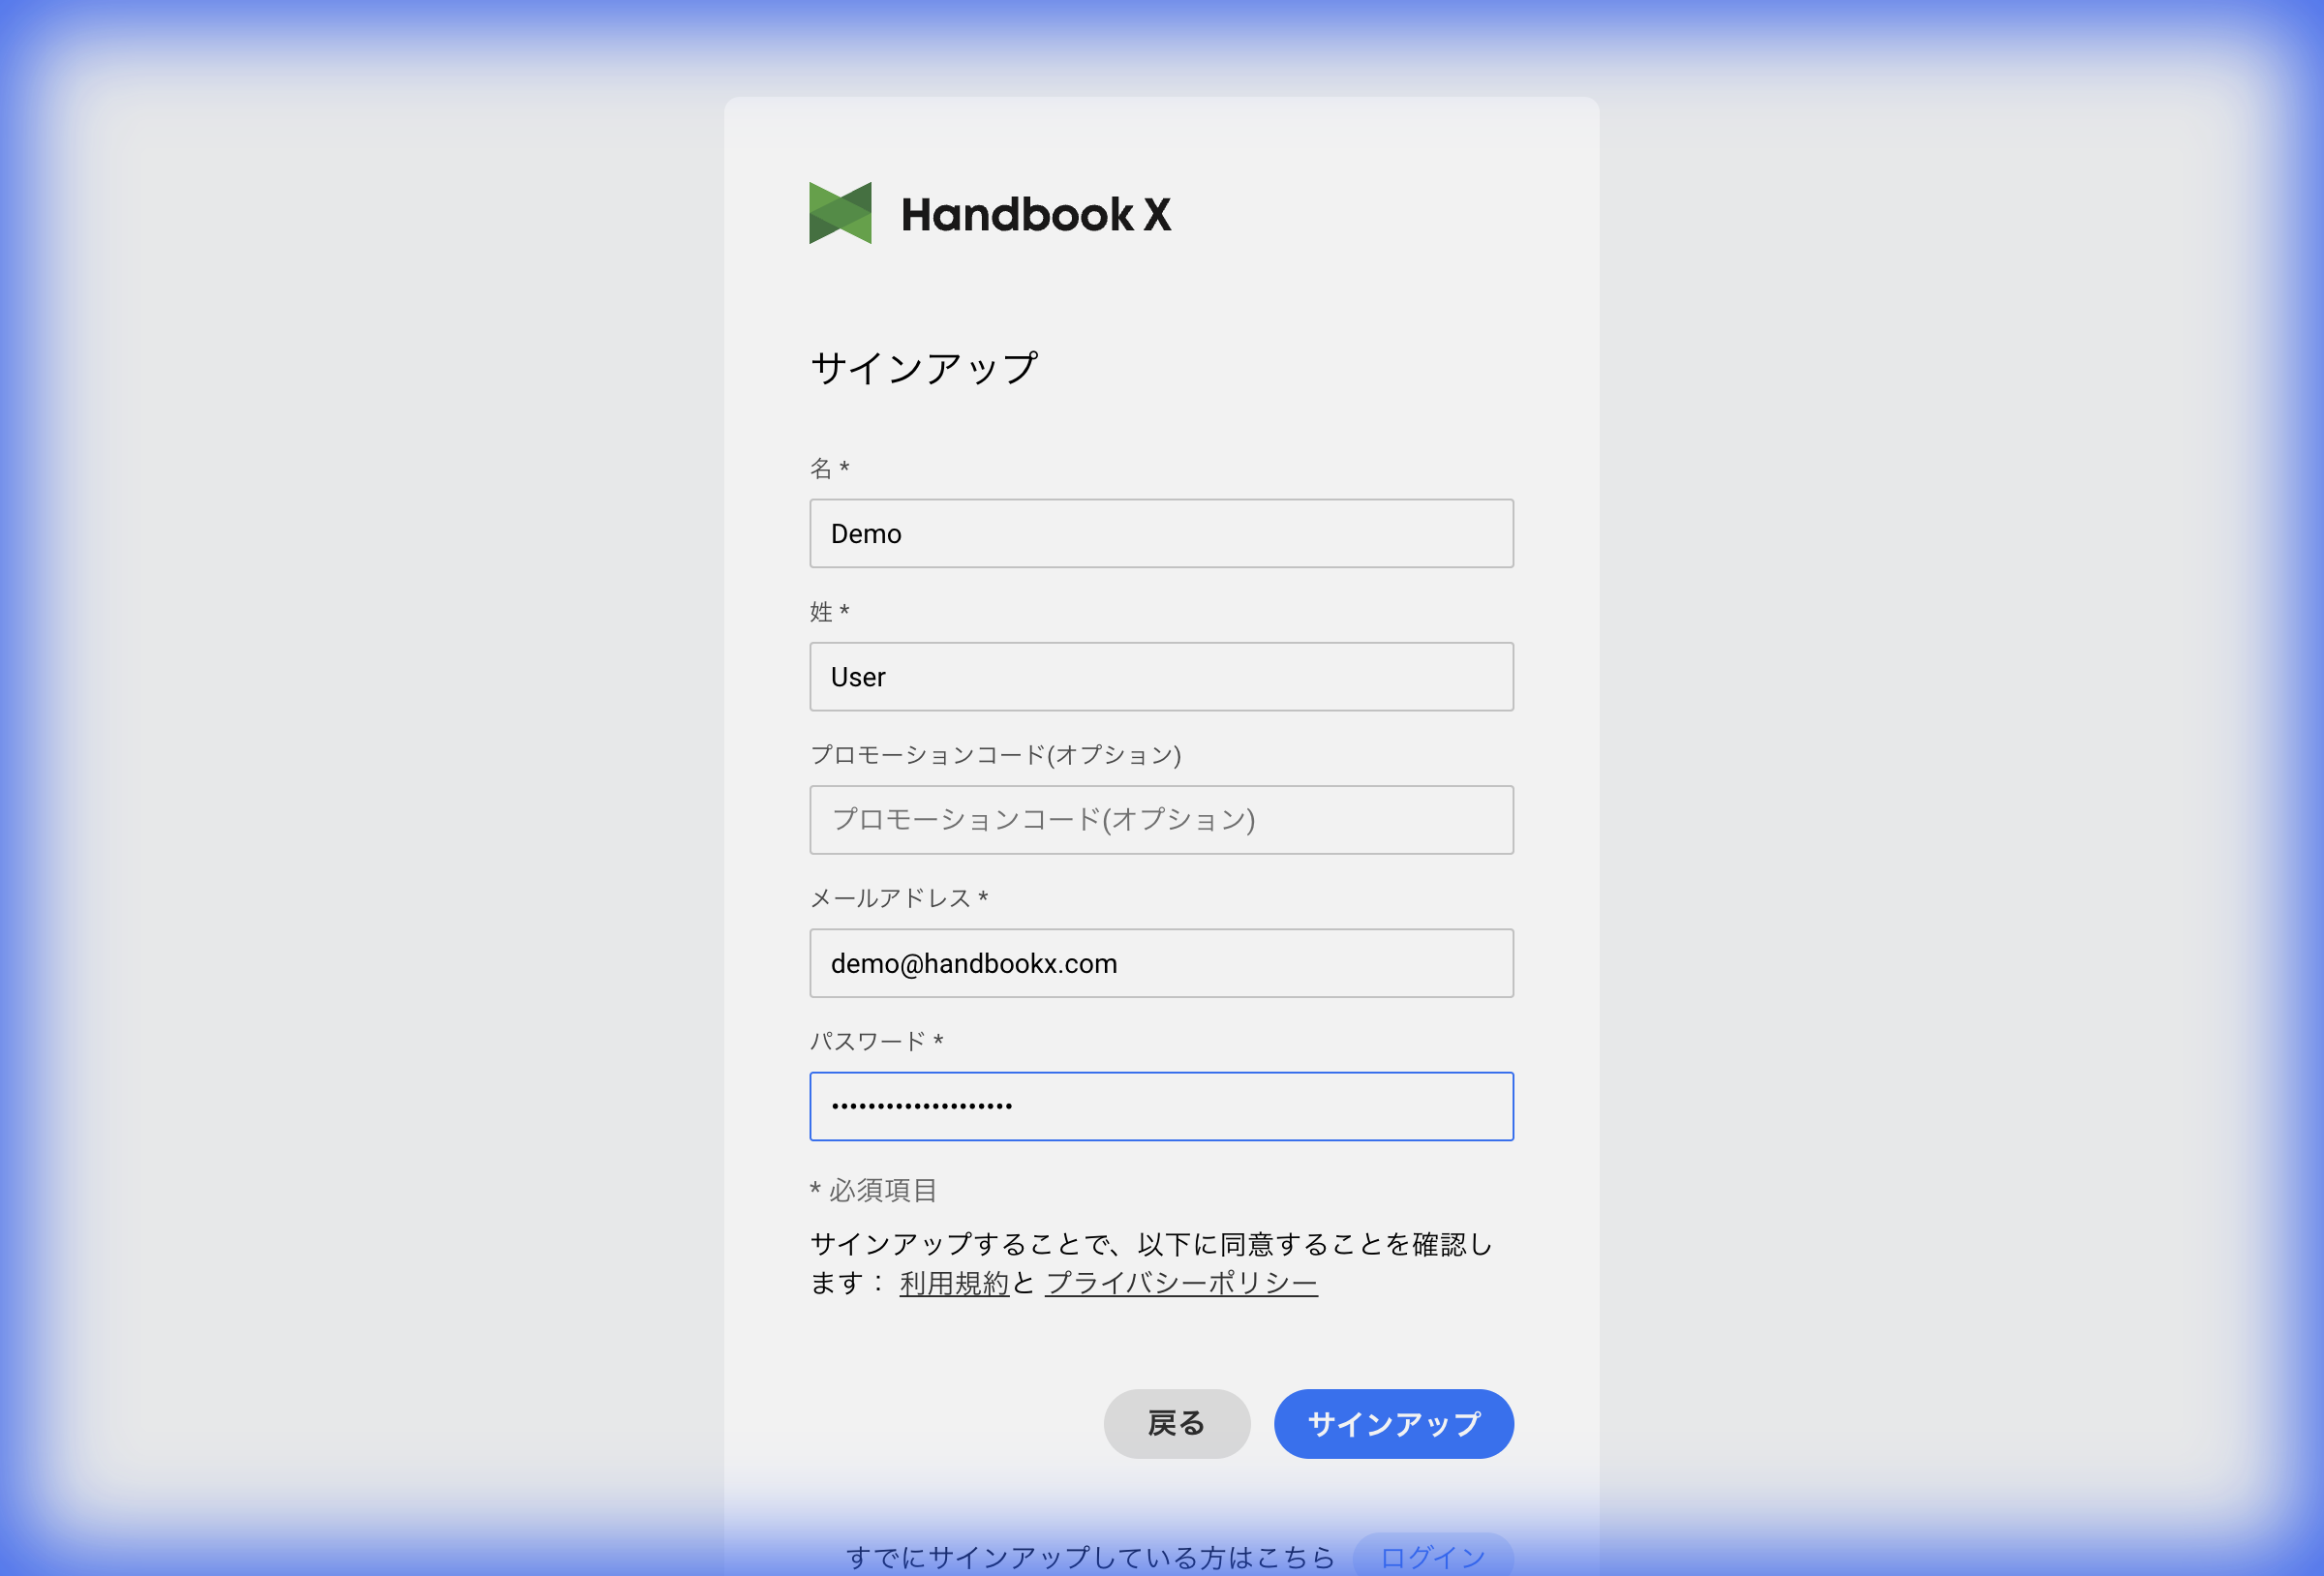
- Agree to the Terms of Service and Privacy Policy, then click the Sign Up button
- The verification code entry screen is displayed
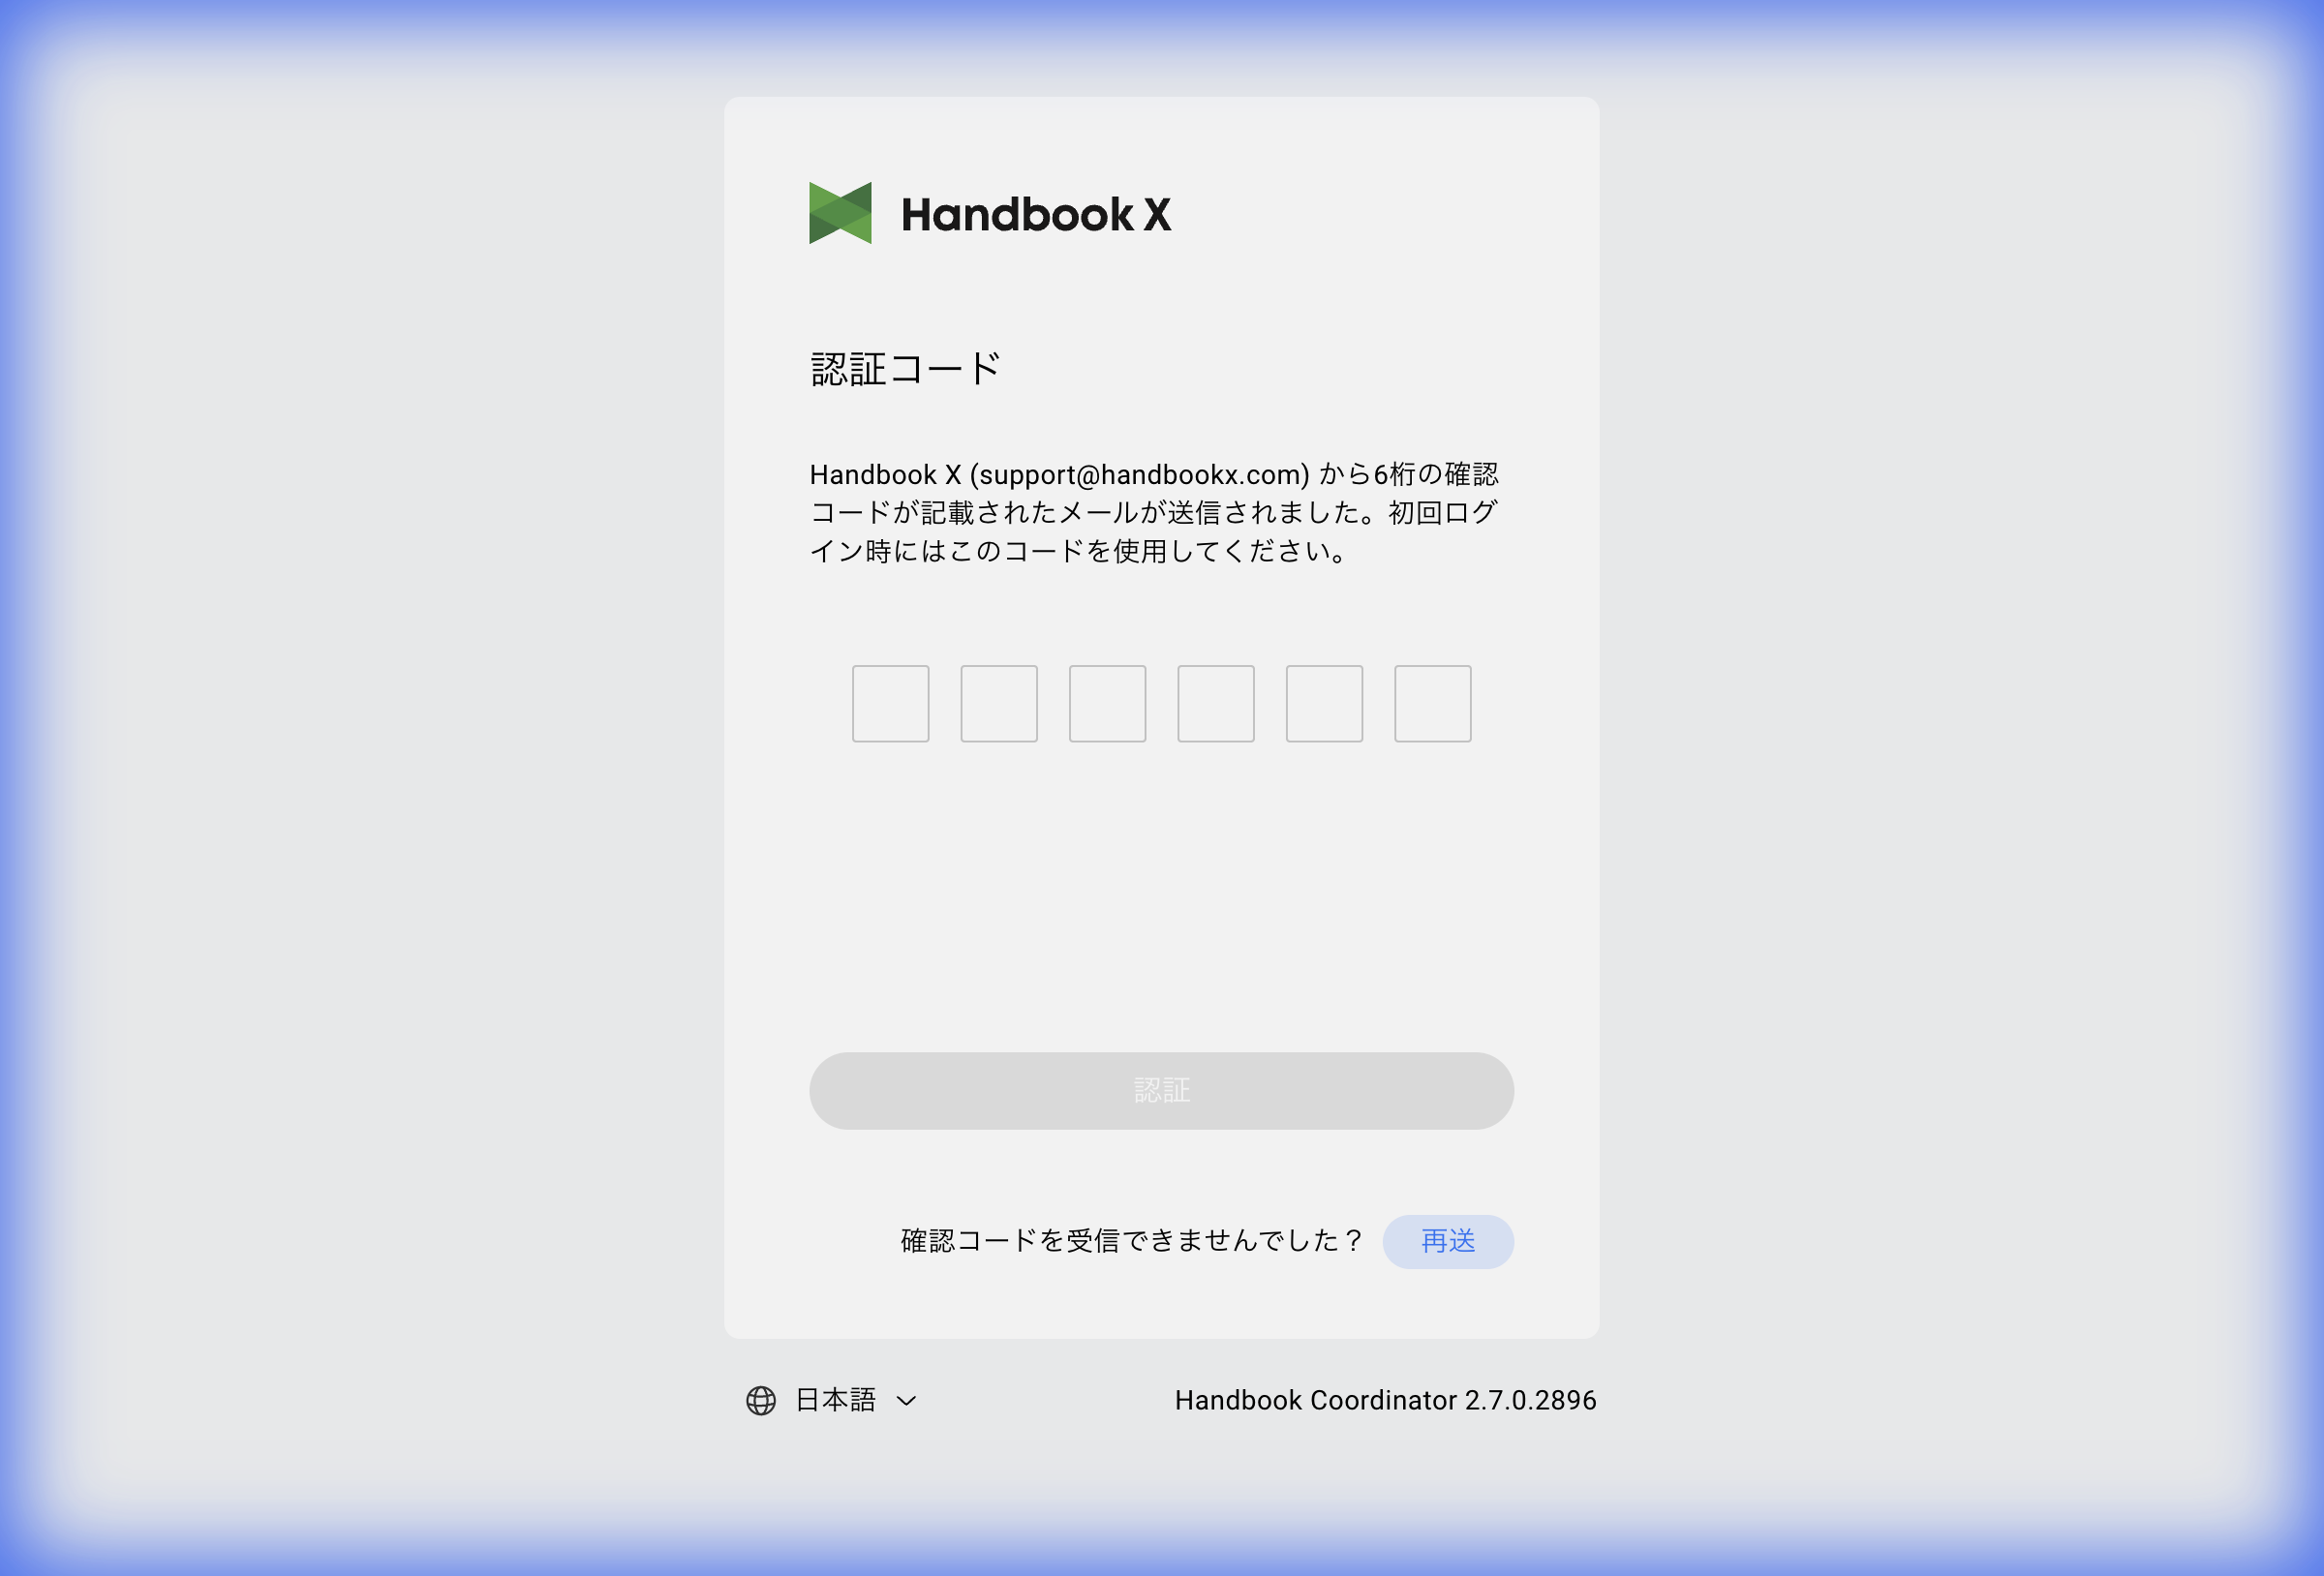
- Enter the 6-digit verification code sent to your registered email address
- Click the Verify button to complete account registration
Tip: If you don't receive the verification code, click the "Resend" button to request a new one.
2.8 Logout
To log out from the system:
- Click the Logout button at the top right of the screen
- You will be returned to the login screen
Tip: For security purposes, always log out when using a shared device.